Building an Arcade Controller
build gaming
Several years ago, I bought an arcade stick kit from Micro Center for a quiz bowl buzzer project that ended up getting scrapped, so the kit got left in a box unused.
A few weeks ago, I was talking with some friends about retro gaming and arcades, and Retro Frog’s LS-4 controller came up. It’s a cool project, but Neo Geo-only (and now out of stock, anyway), and while I was interested in getting one, I’d have wanted something with more compatibility with other systems. That did, however, remind me that I had that Micro Center kit languishing in storage, so I decided to look around and see if anyone had a pattern for a controller available anywhere.
A little bit of searching on the various 3D printing repositories brought me quickly to RAF’s Chameleon v3, which looked like exactly what I needed. The modular options for button layouts was also appealing, since I wanted to use it for games up through the PlayStation era, meaning it needed at least eight action buttons, and two more for Start and Select.
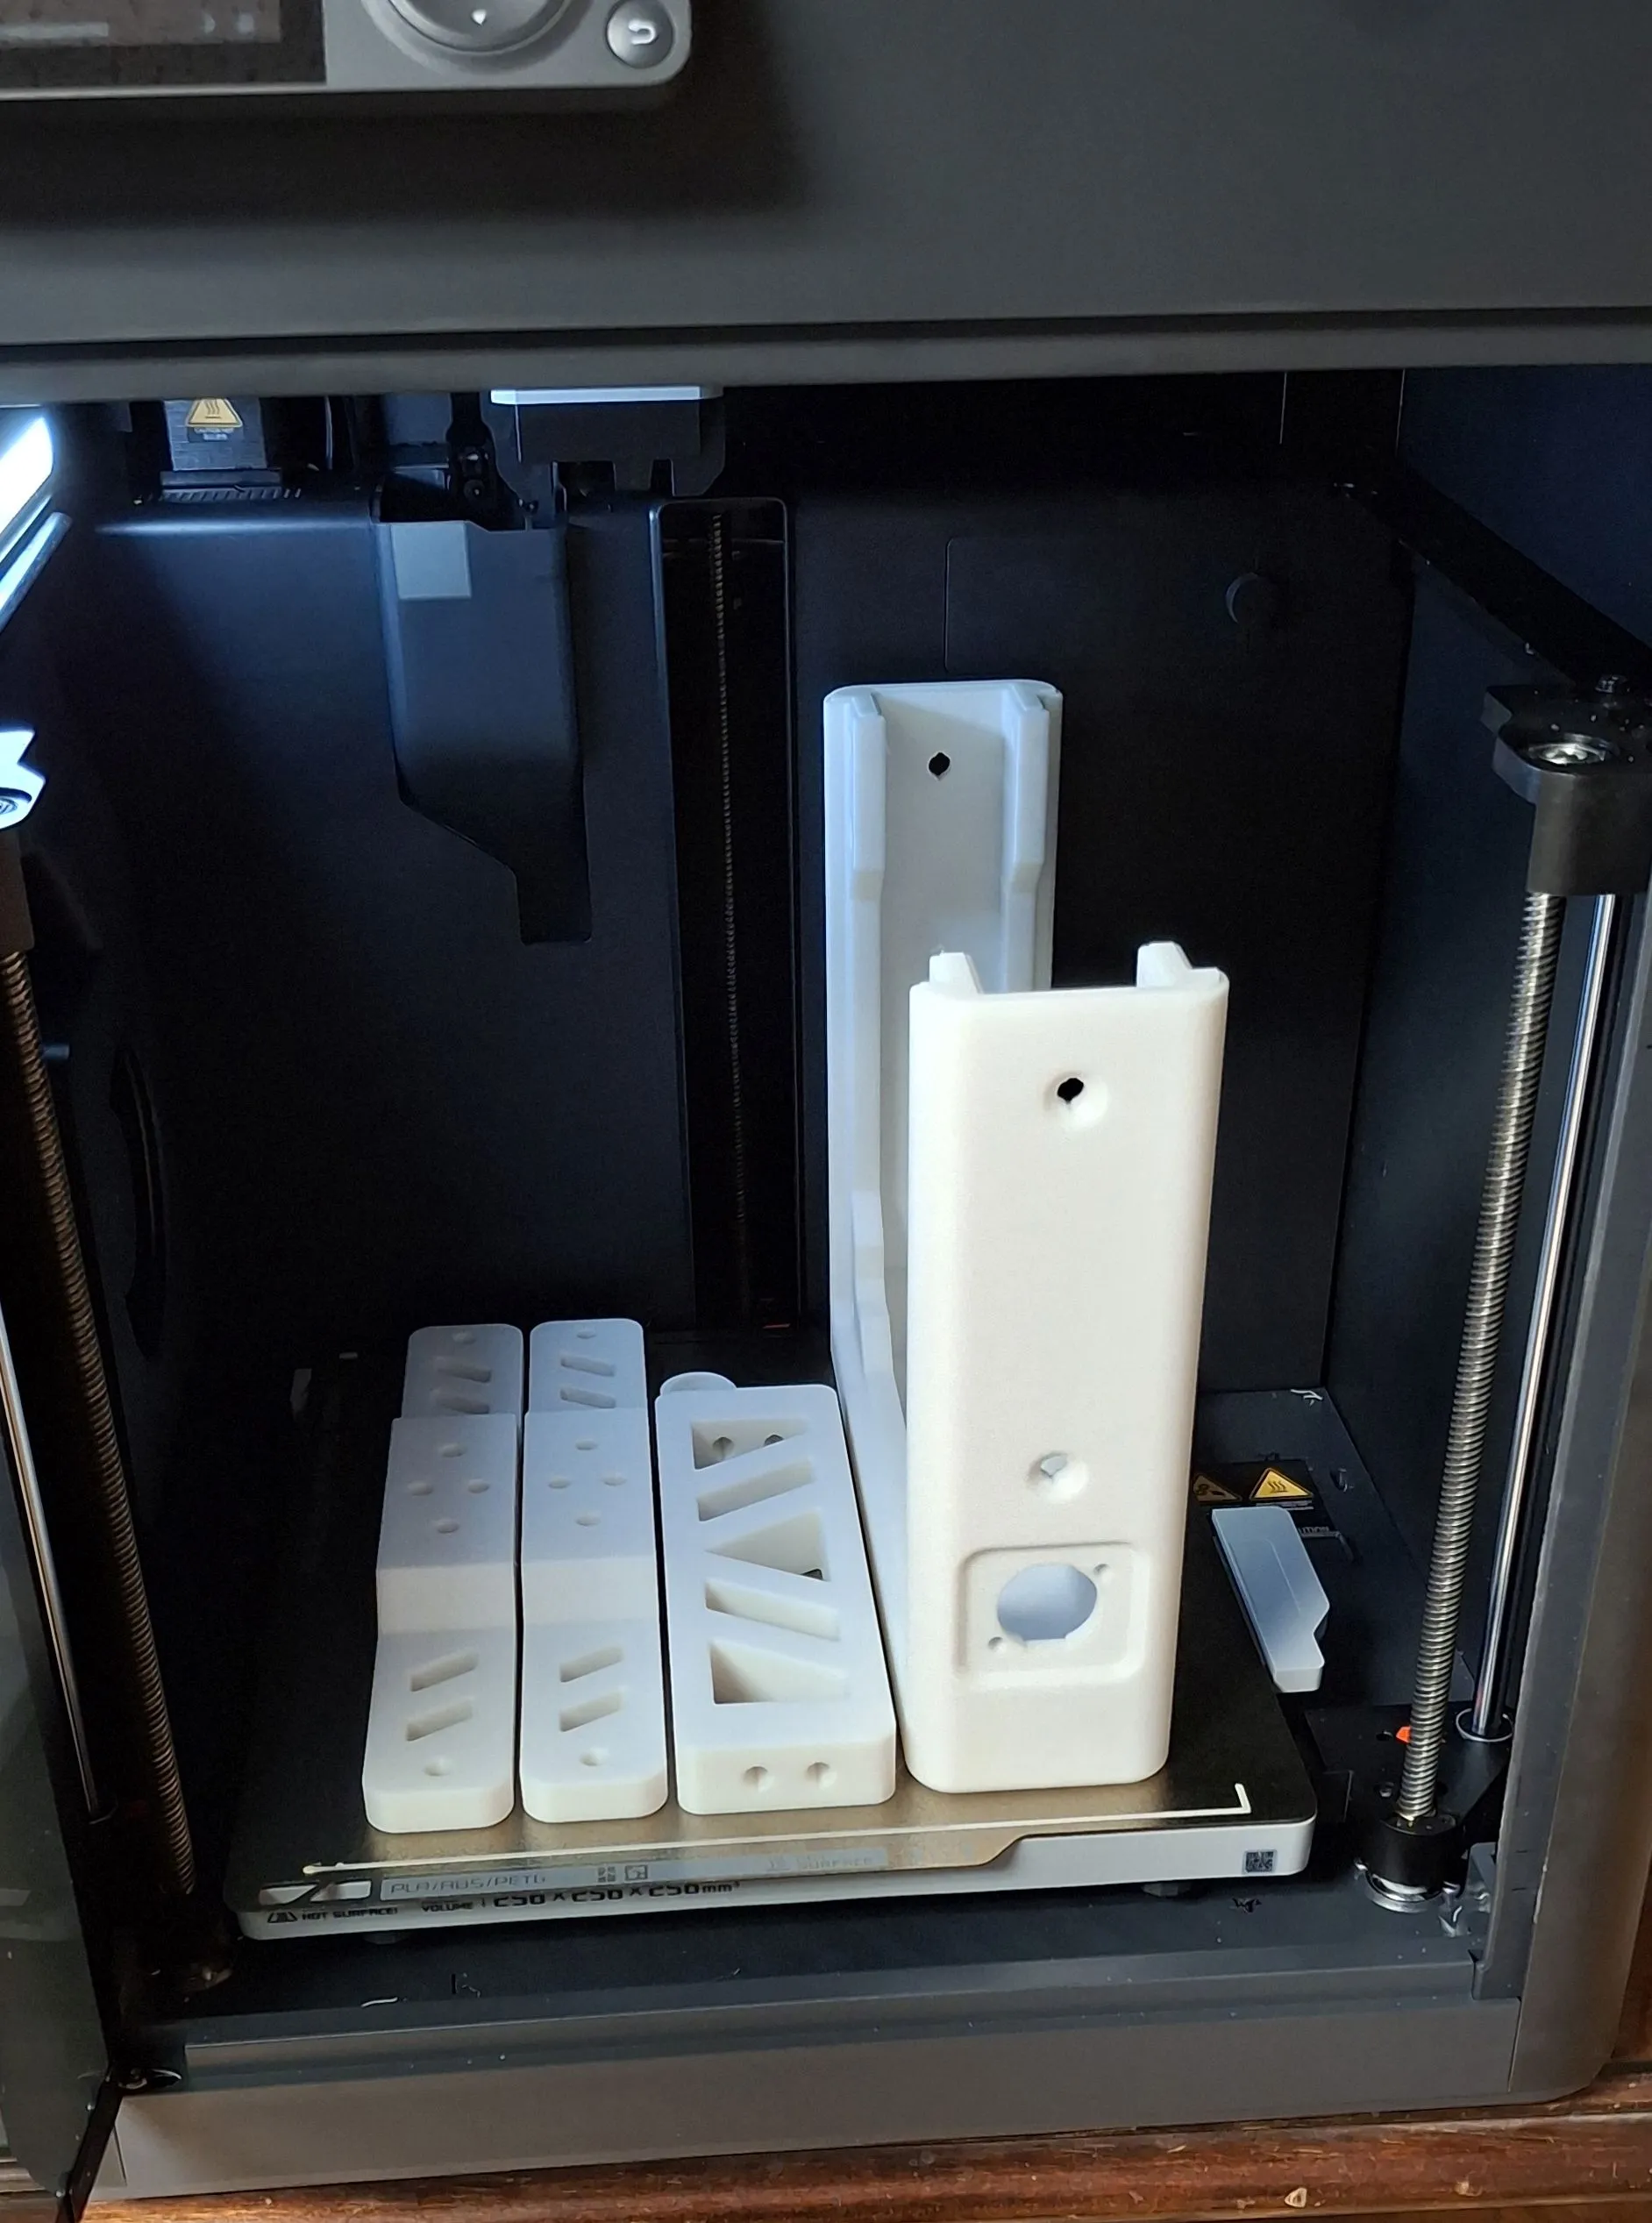
I had some extra white filament for my 3D printer from a different project I printed for a friend, so that was the color I went with for this. It helped that the button set I’d bought was black, so the contrast felt like a good idea, too. Not knowing just how much depth I’d need for the button clearance, I went with the MAX version of the case rather than the SLIM, just for certainty, which turned out to be the right choice when I went to assemble everything.
In all, it took about 1.5 kg of filament for all the parts and about 20 hours of print time.
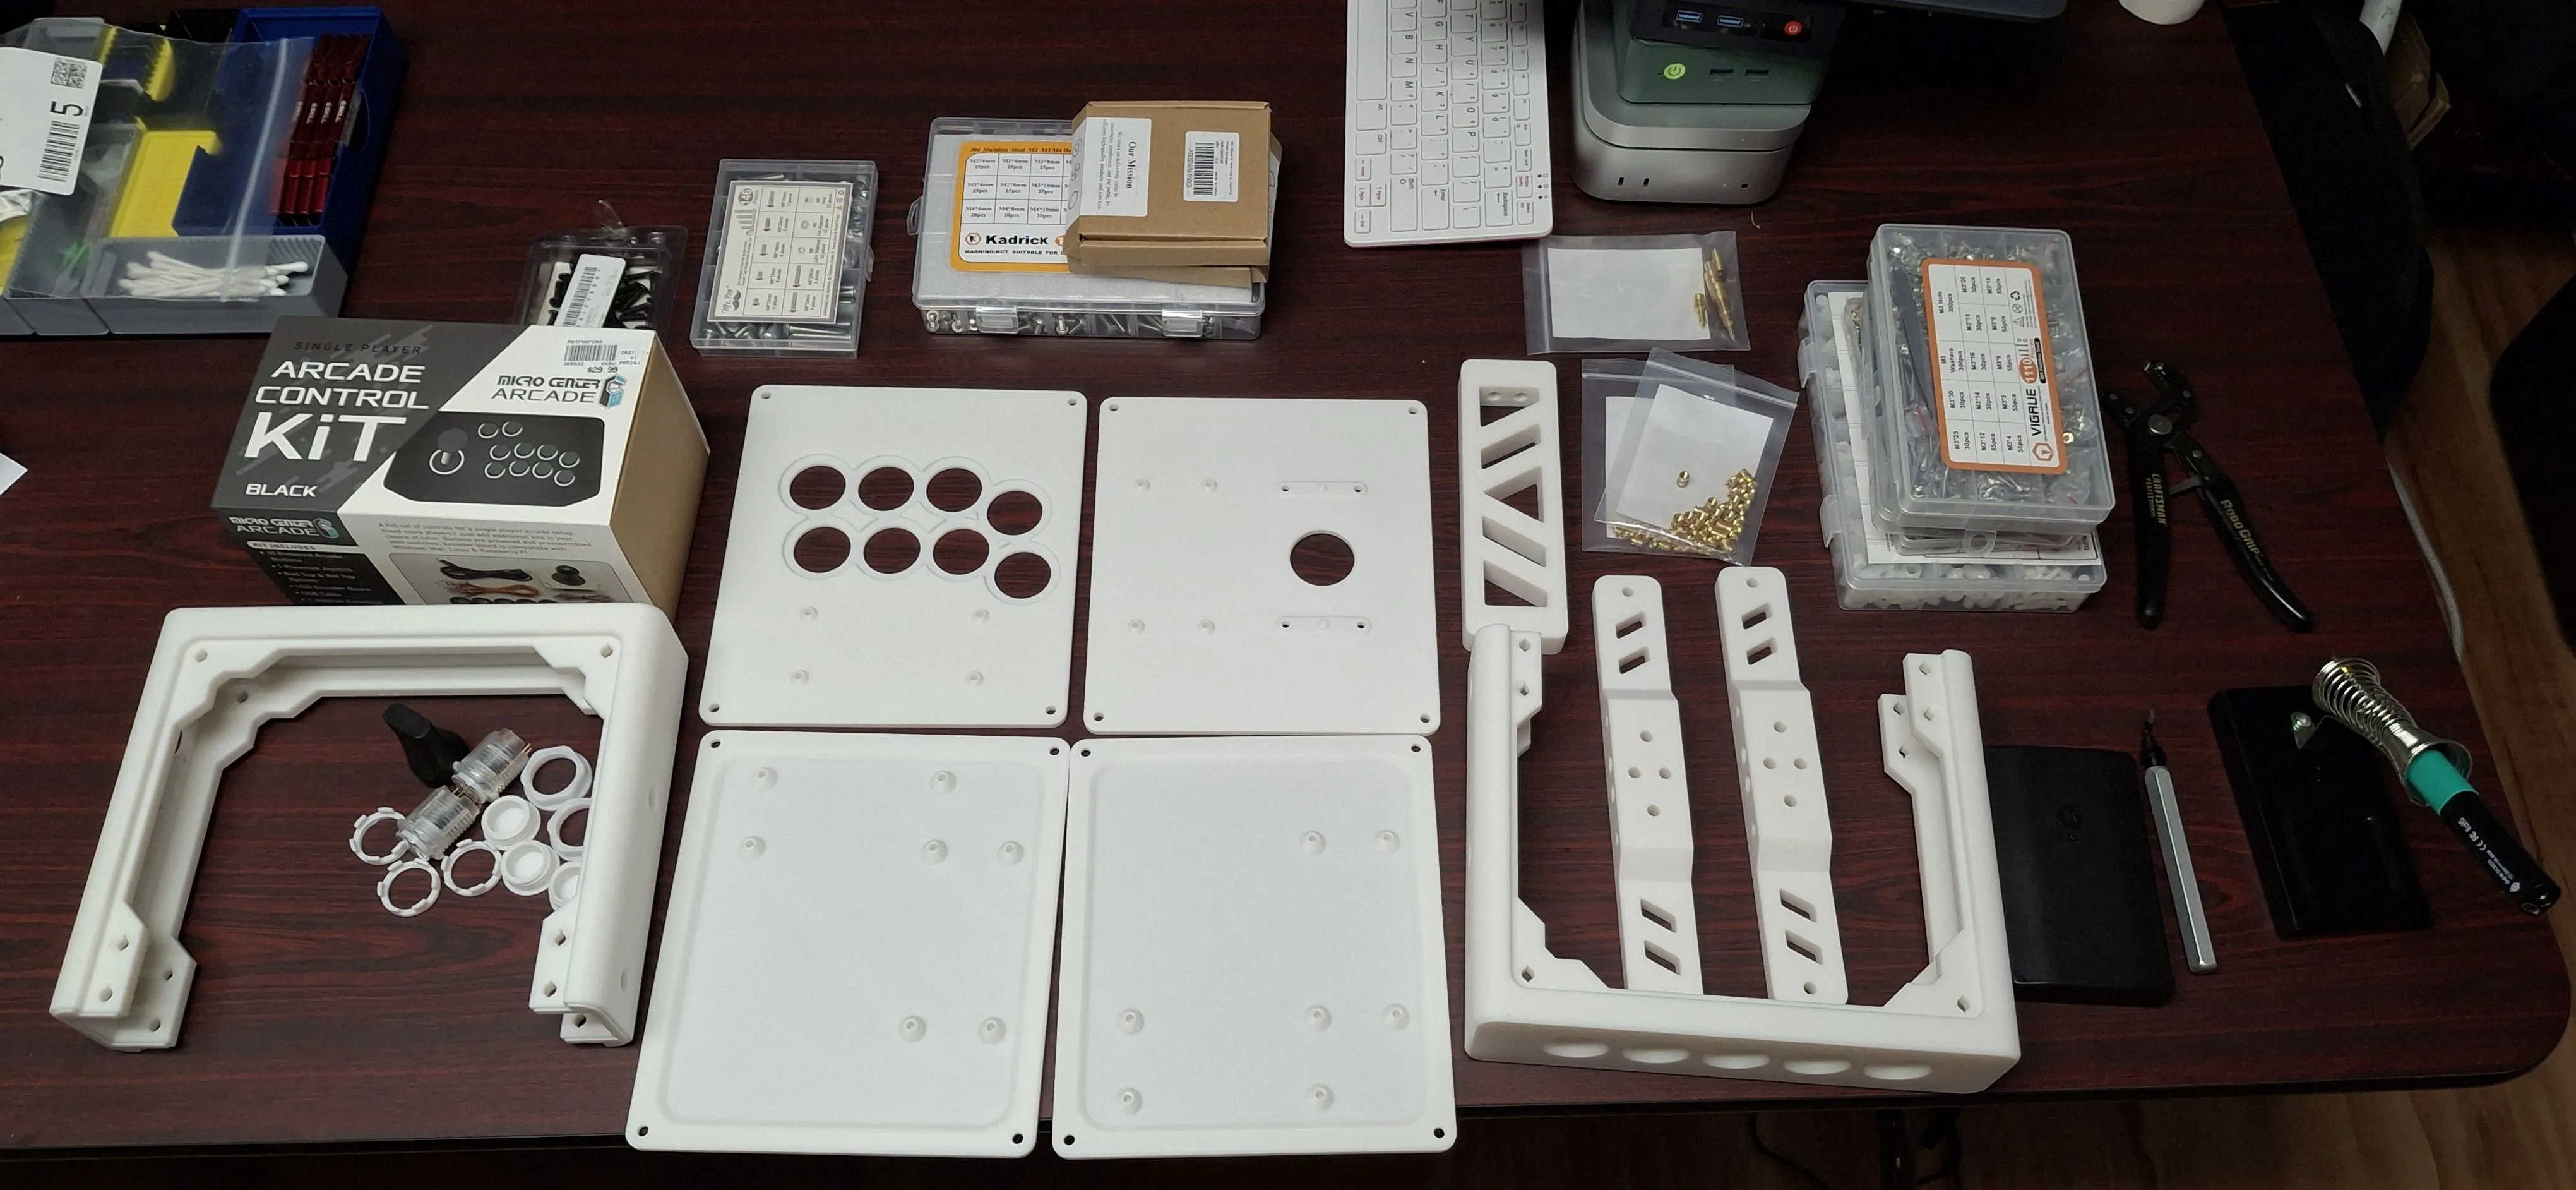
After printing all of the parts, I gathered all of the tools and hardware I needed and started assembling.
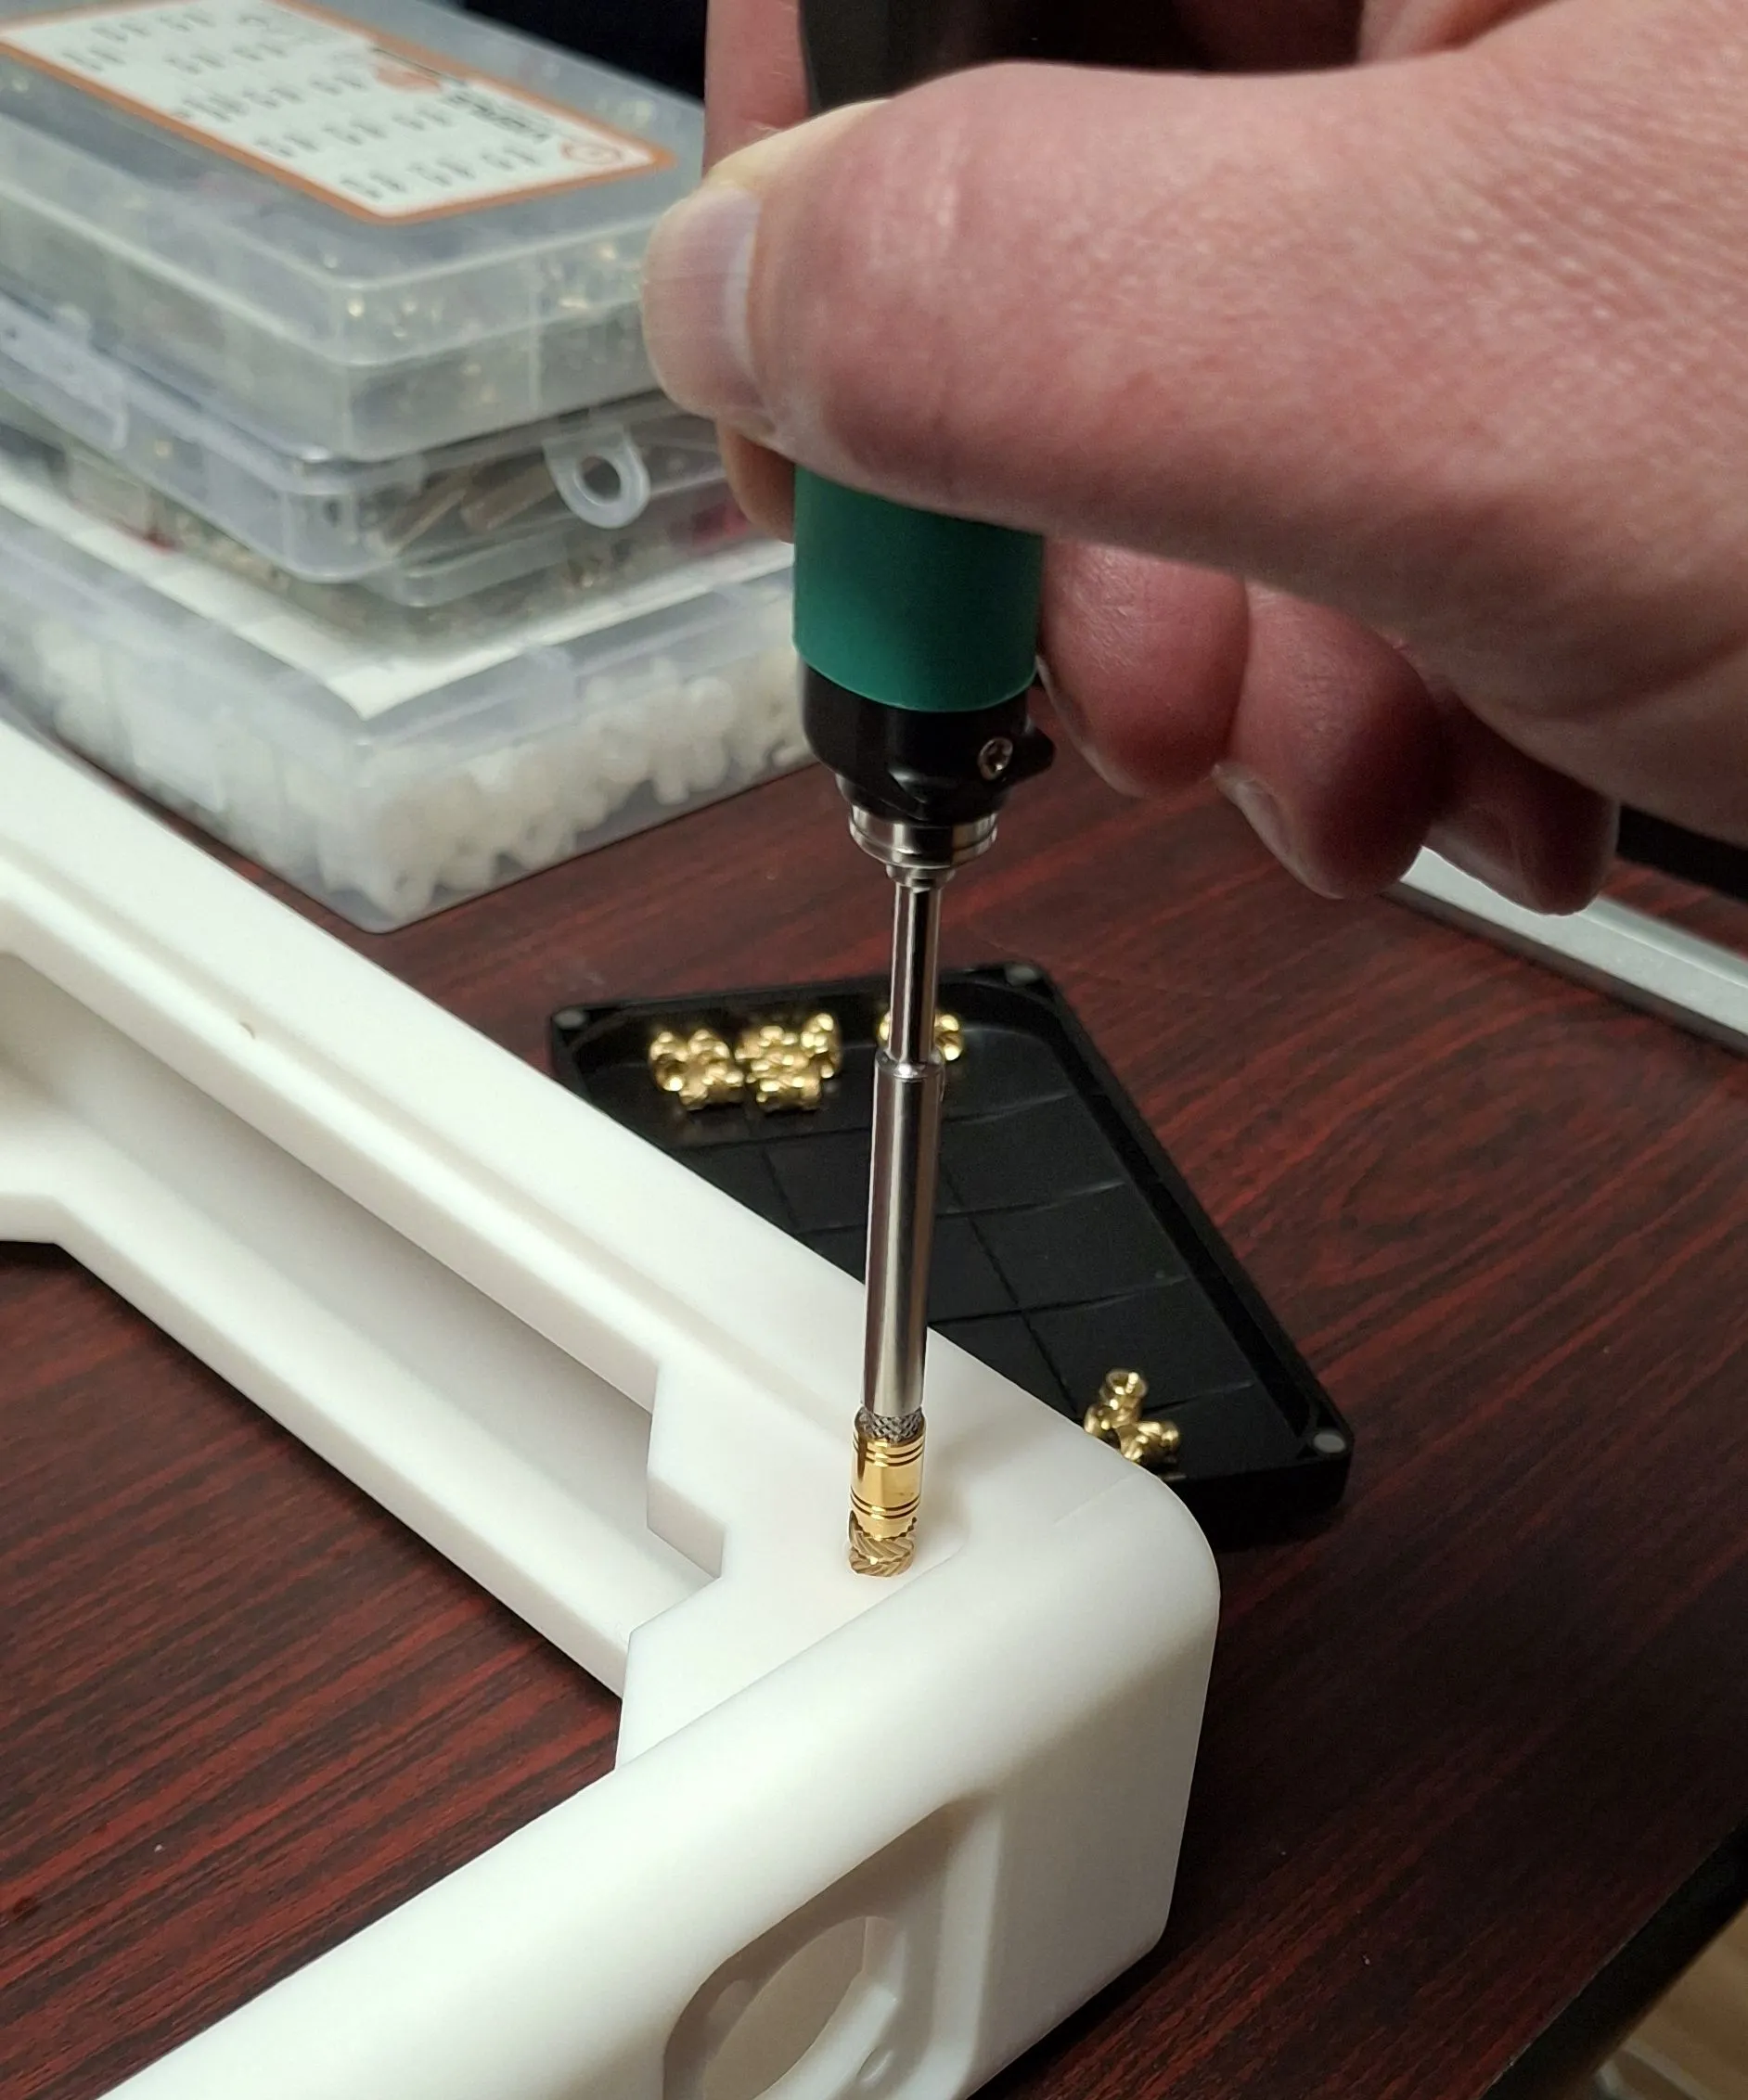
The first step was inserting all of the heat-set inserts for screw insertion. I picked up a set of tips and the adapter for my Pinecil iron from CNCKitchen a few years ago, and they’ve served wonderfully every time I’ve needed to work with inserts. Way better than my first attempts with a standard soldering iron tip.
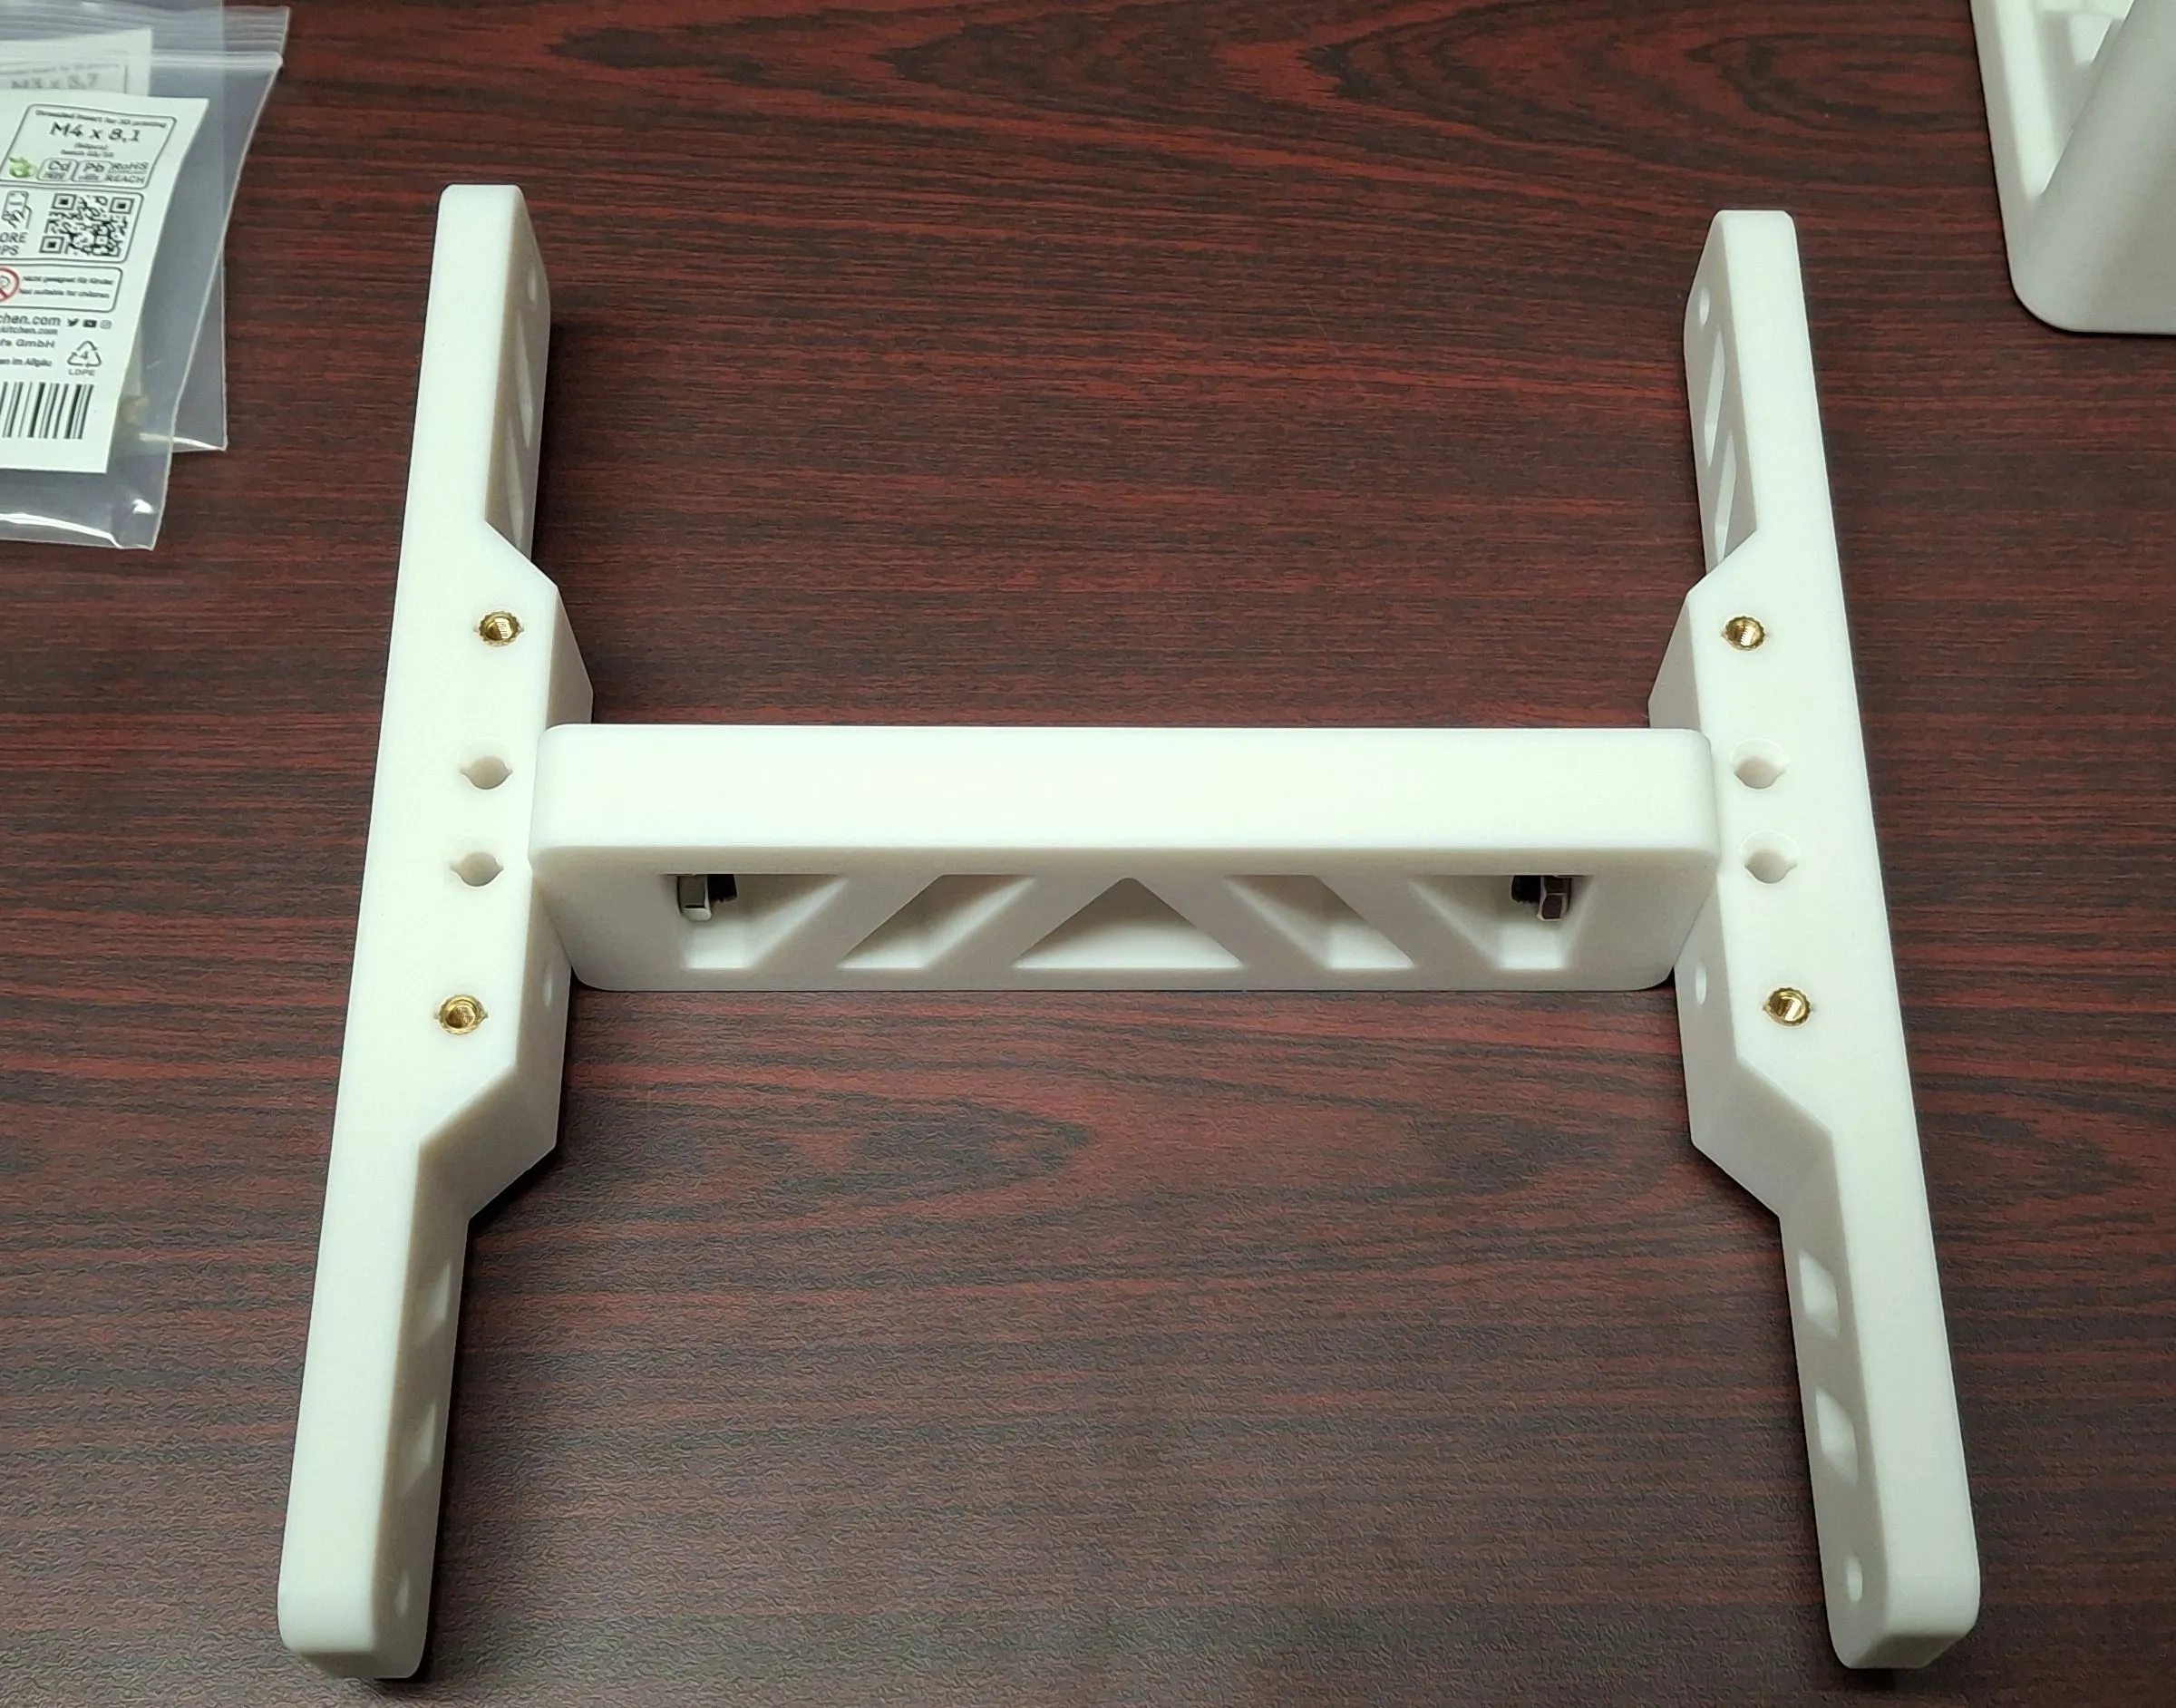
Once that was done, assembling the inner frame was the next step. These parts were bolted together with countersunk M5x50 bolts - the nuts took a bit of effort to get started because of the tight quarters, but were easily tightend once they were threaded correctly.
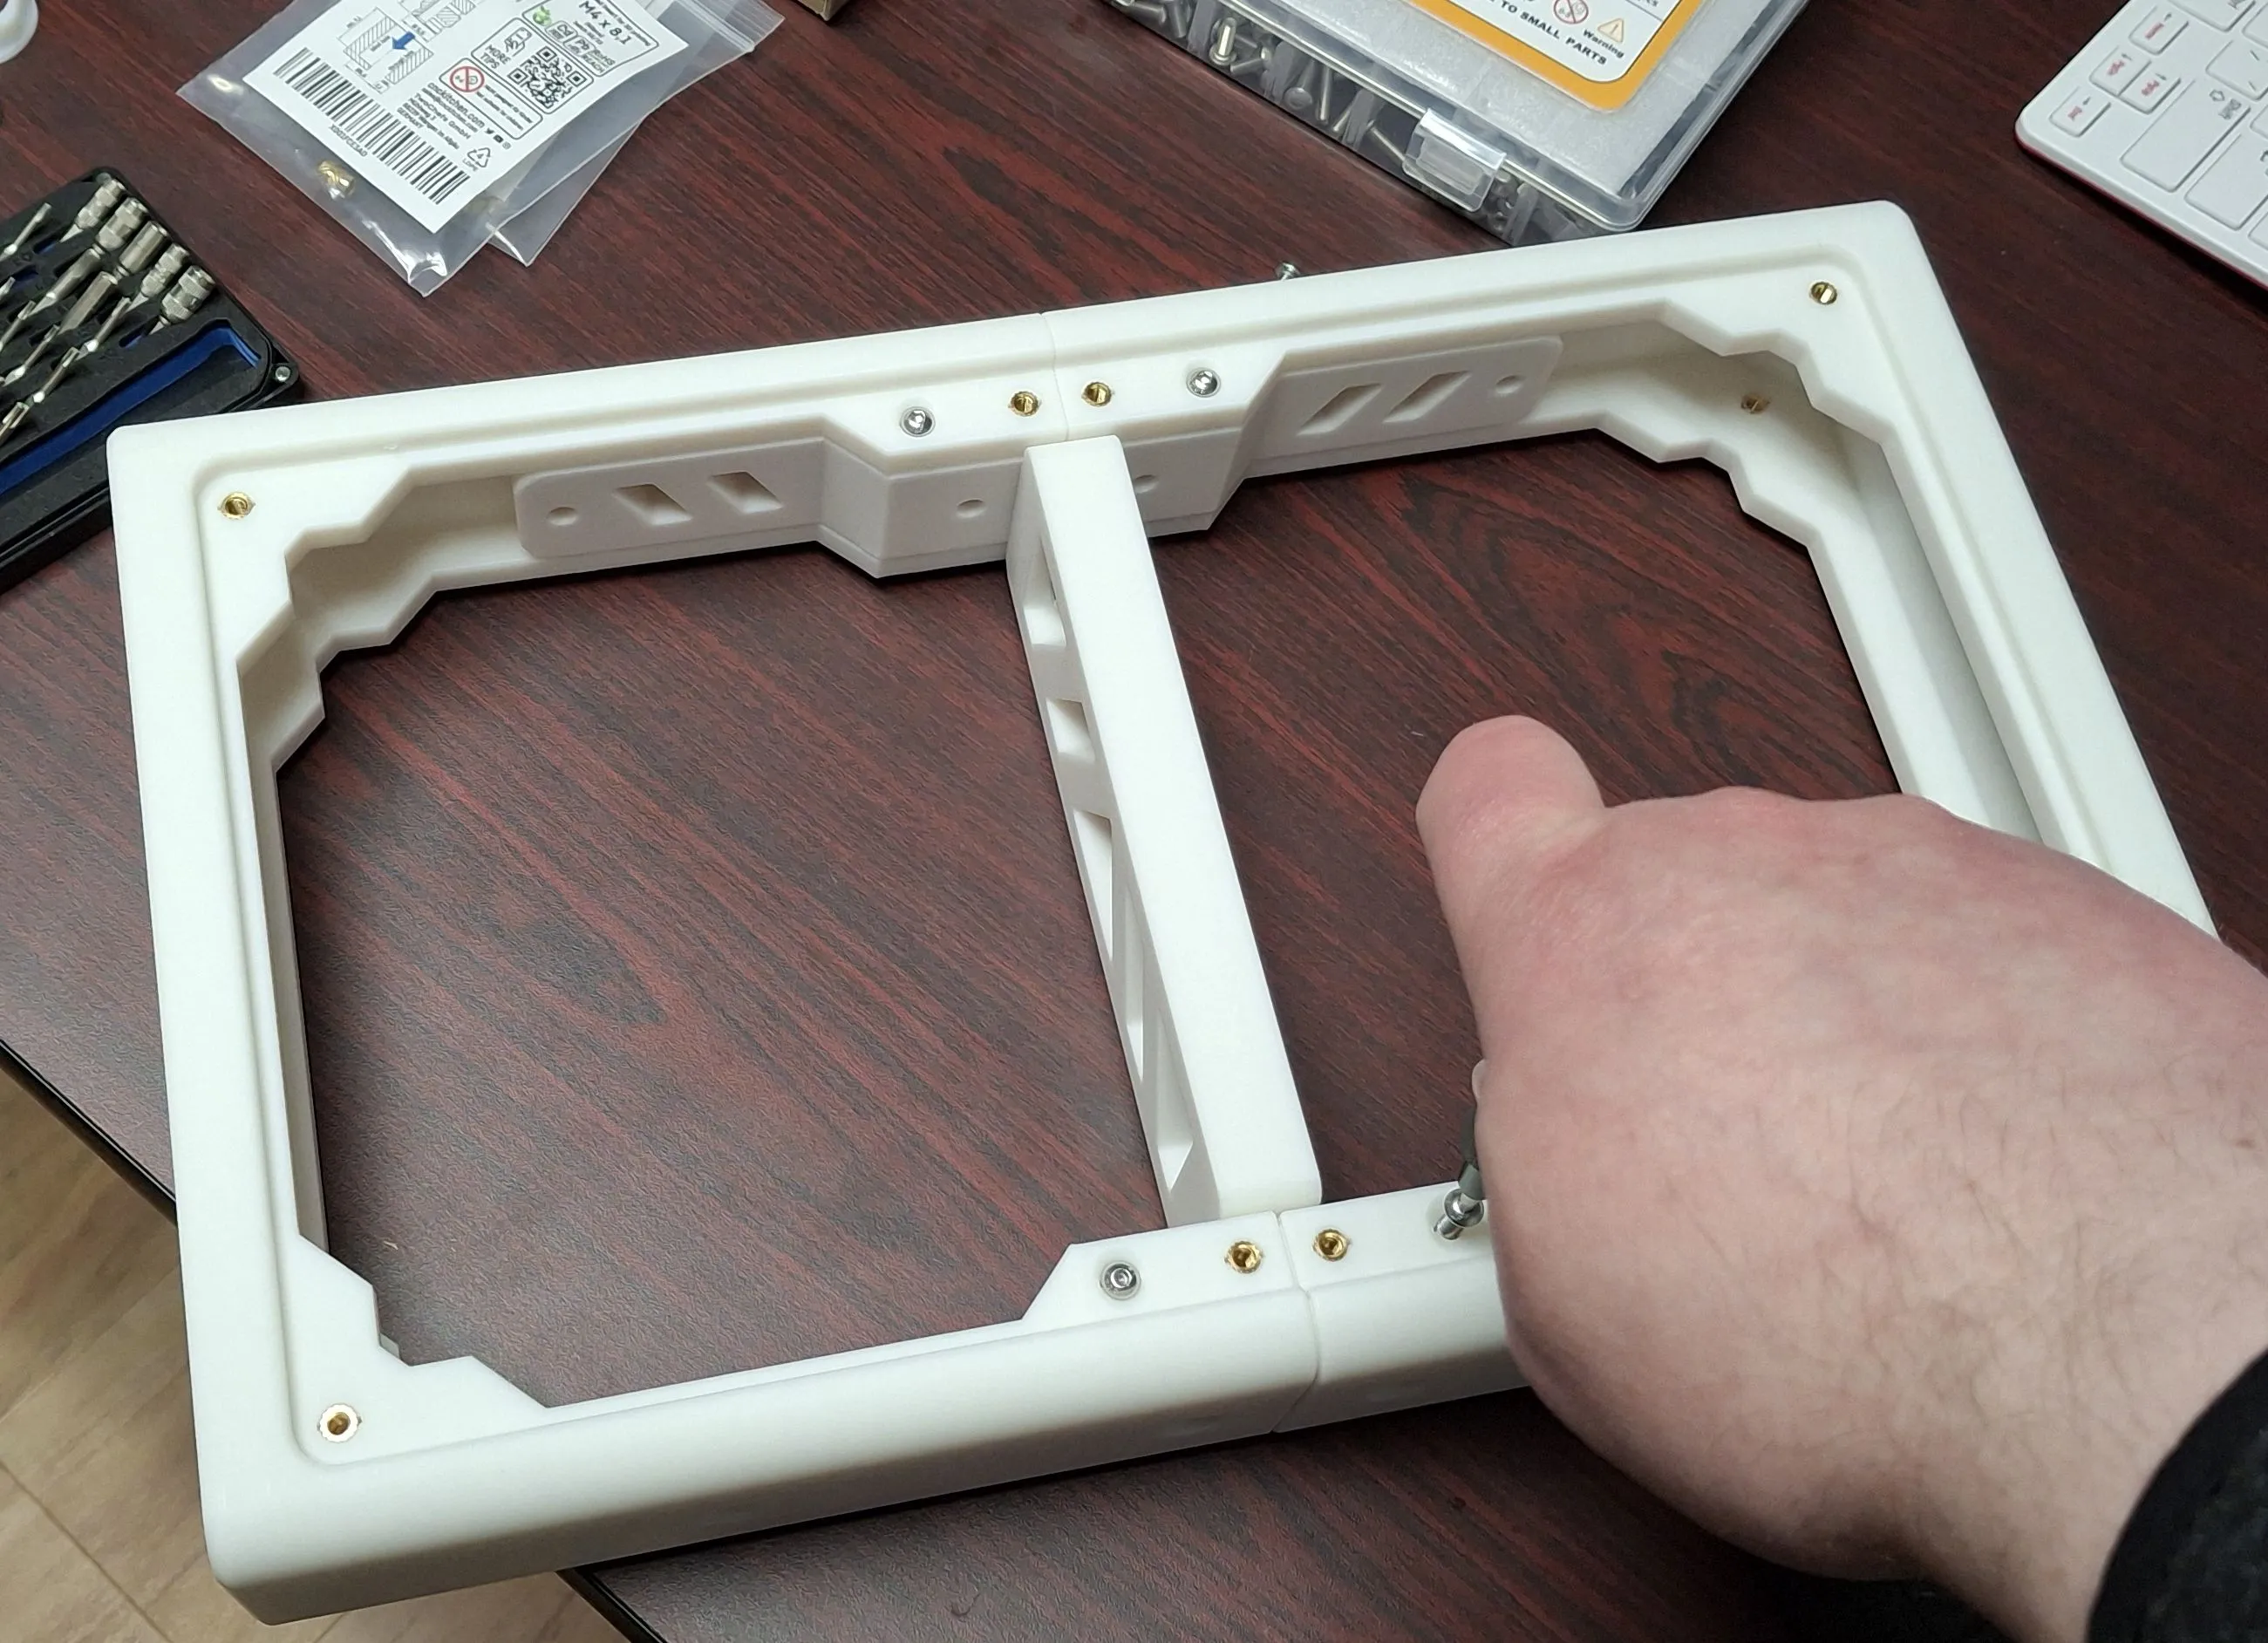
The outer frame was even easier to put together. The M5 bolts around the sides were easily attached, and the M4 bolts on the faces were simple to screw down.
The base plates took a little bit of effort to get correctly placed - tolerances on the model are quite tight, so I had to insert the two plates together and press them into the frame before screwing them down to avoid an annoying lip between the two plates.

The side button holes I wanted to use for the Start/Select buttons are for 24mm buttons, but the kit only provided 30mm ones, so I ordered a few buttons of the correct size and stole the wires from the kit buttons to connect them. The remaining hole were filled with a set of 3D printed plugs and rings.
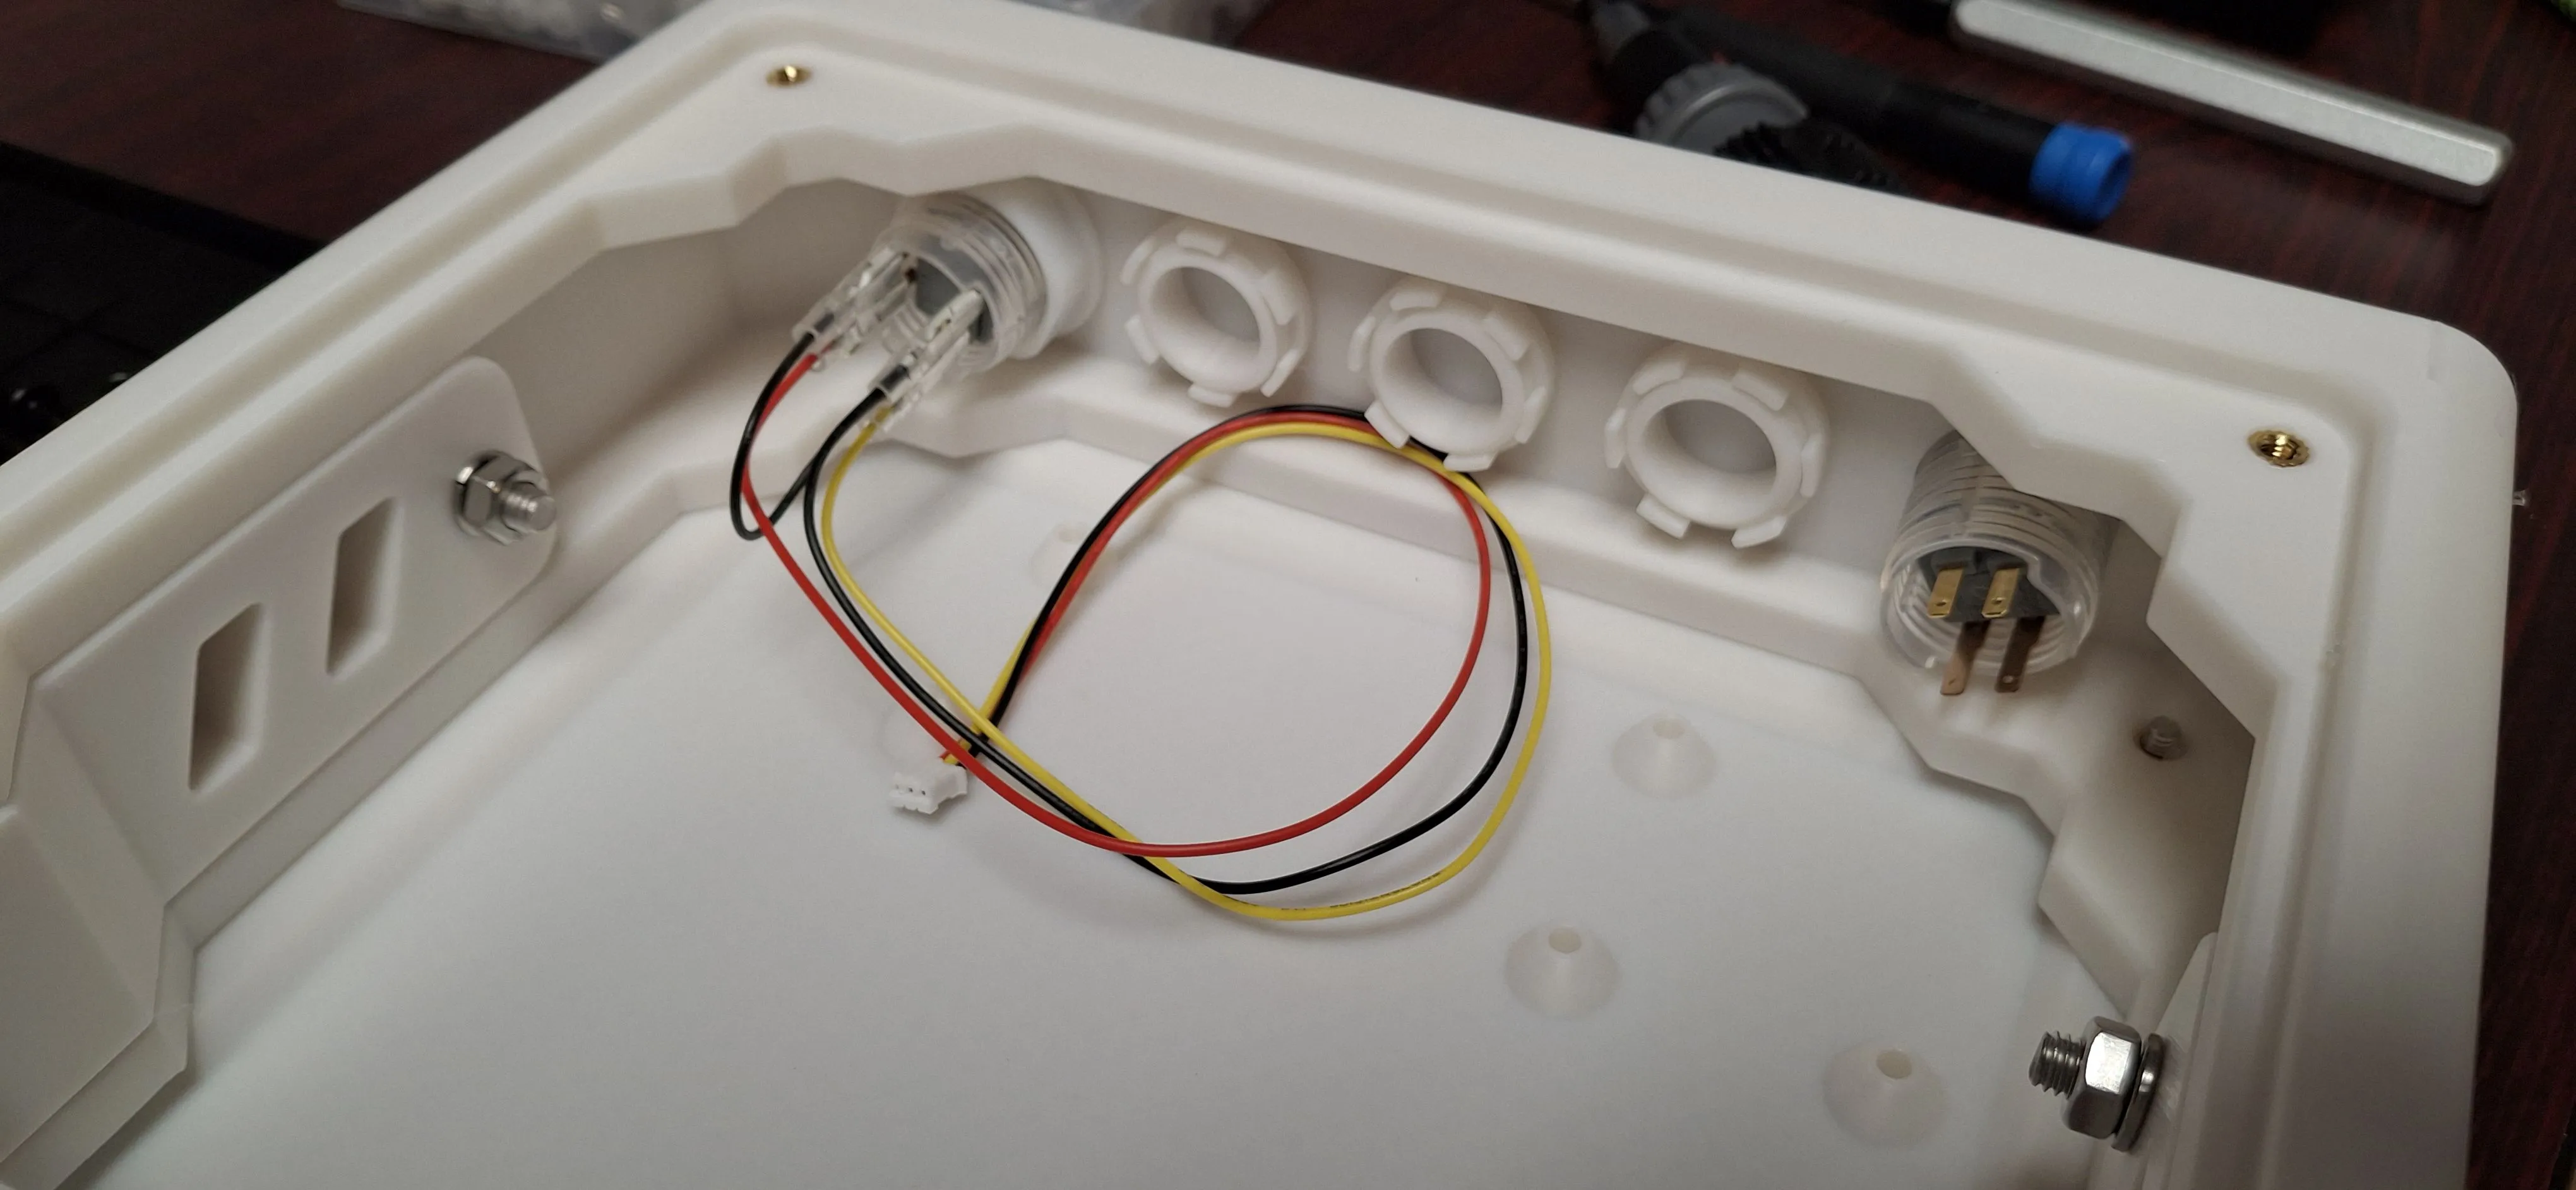
The button plate was pretty easy to get done, just insert the button, thread the wire, and screw the ring down. The extra wires intended for illuminated buttons were a bit of a pain with them getting in the way, but not terribly difficult to work around.

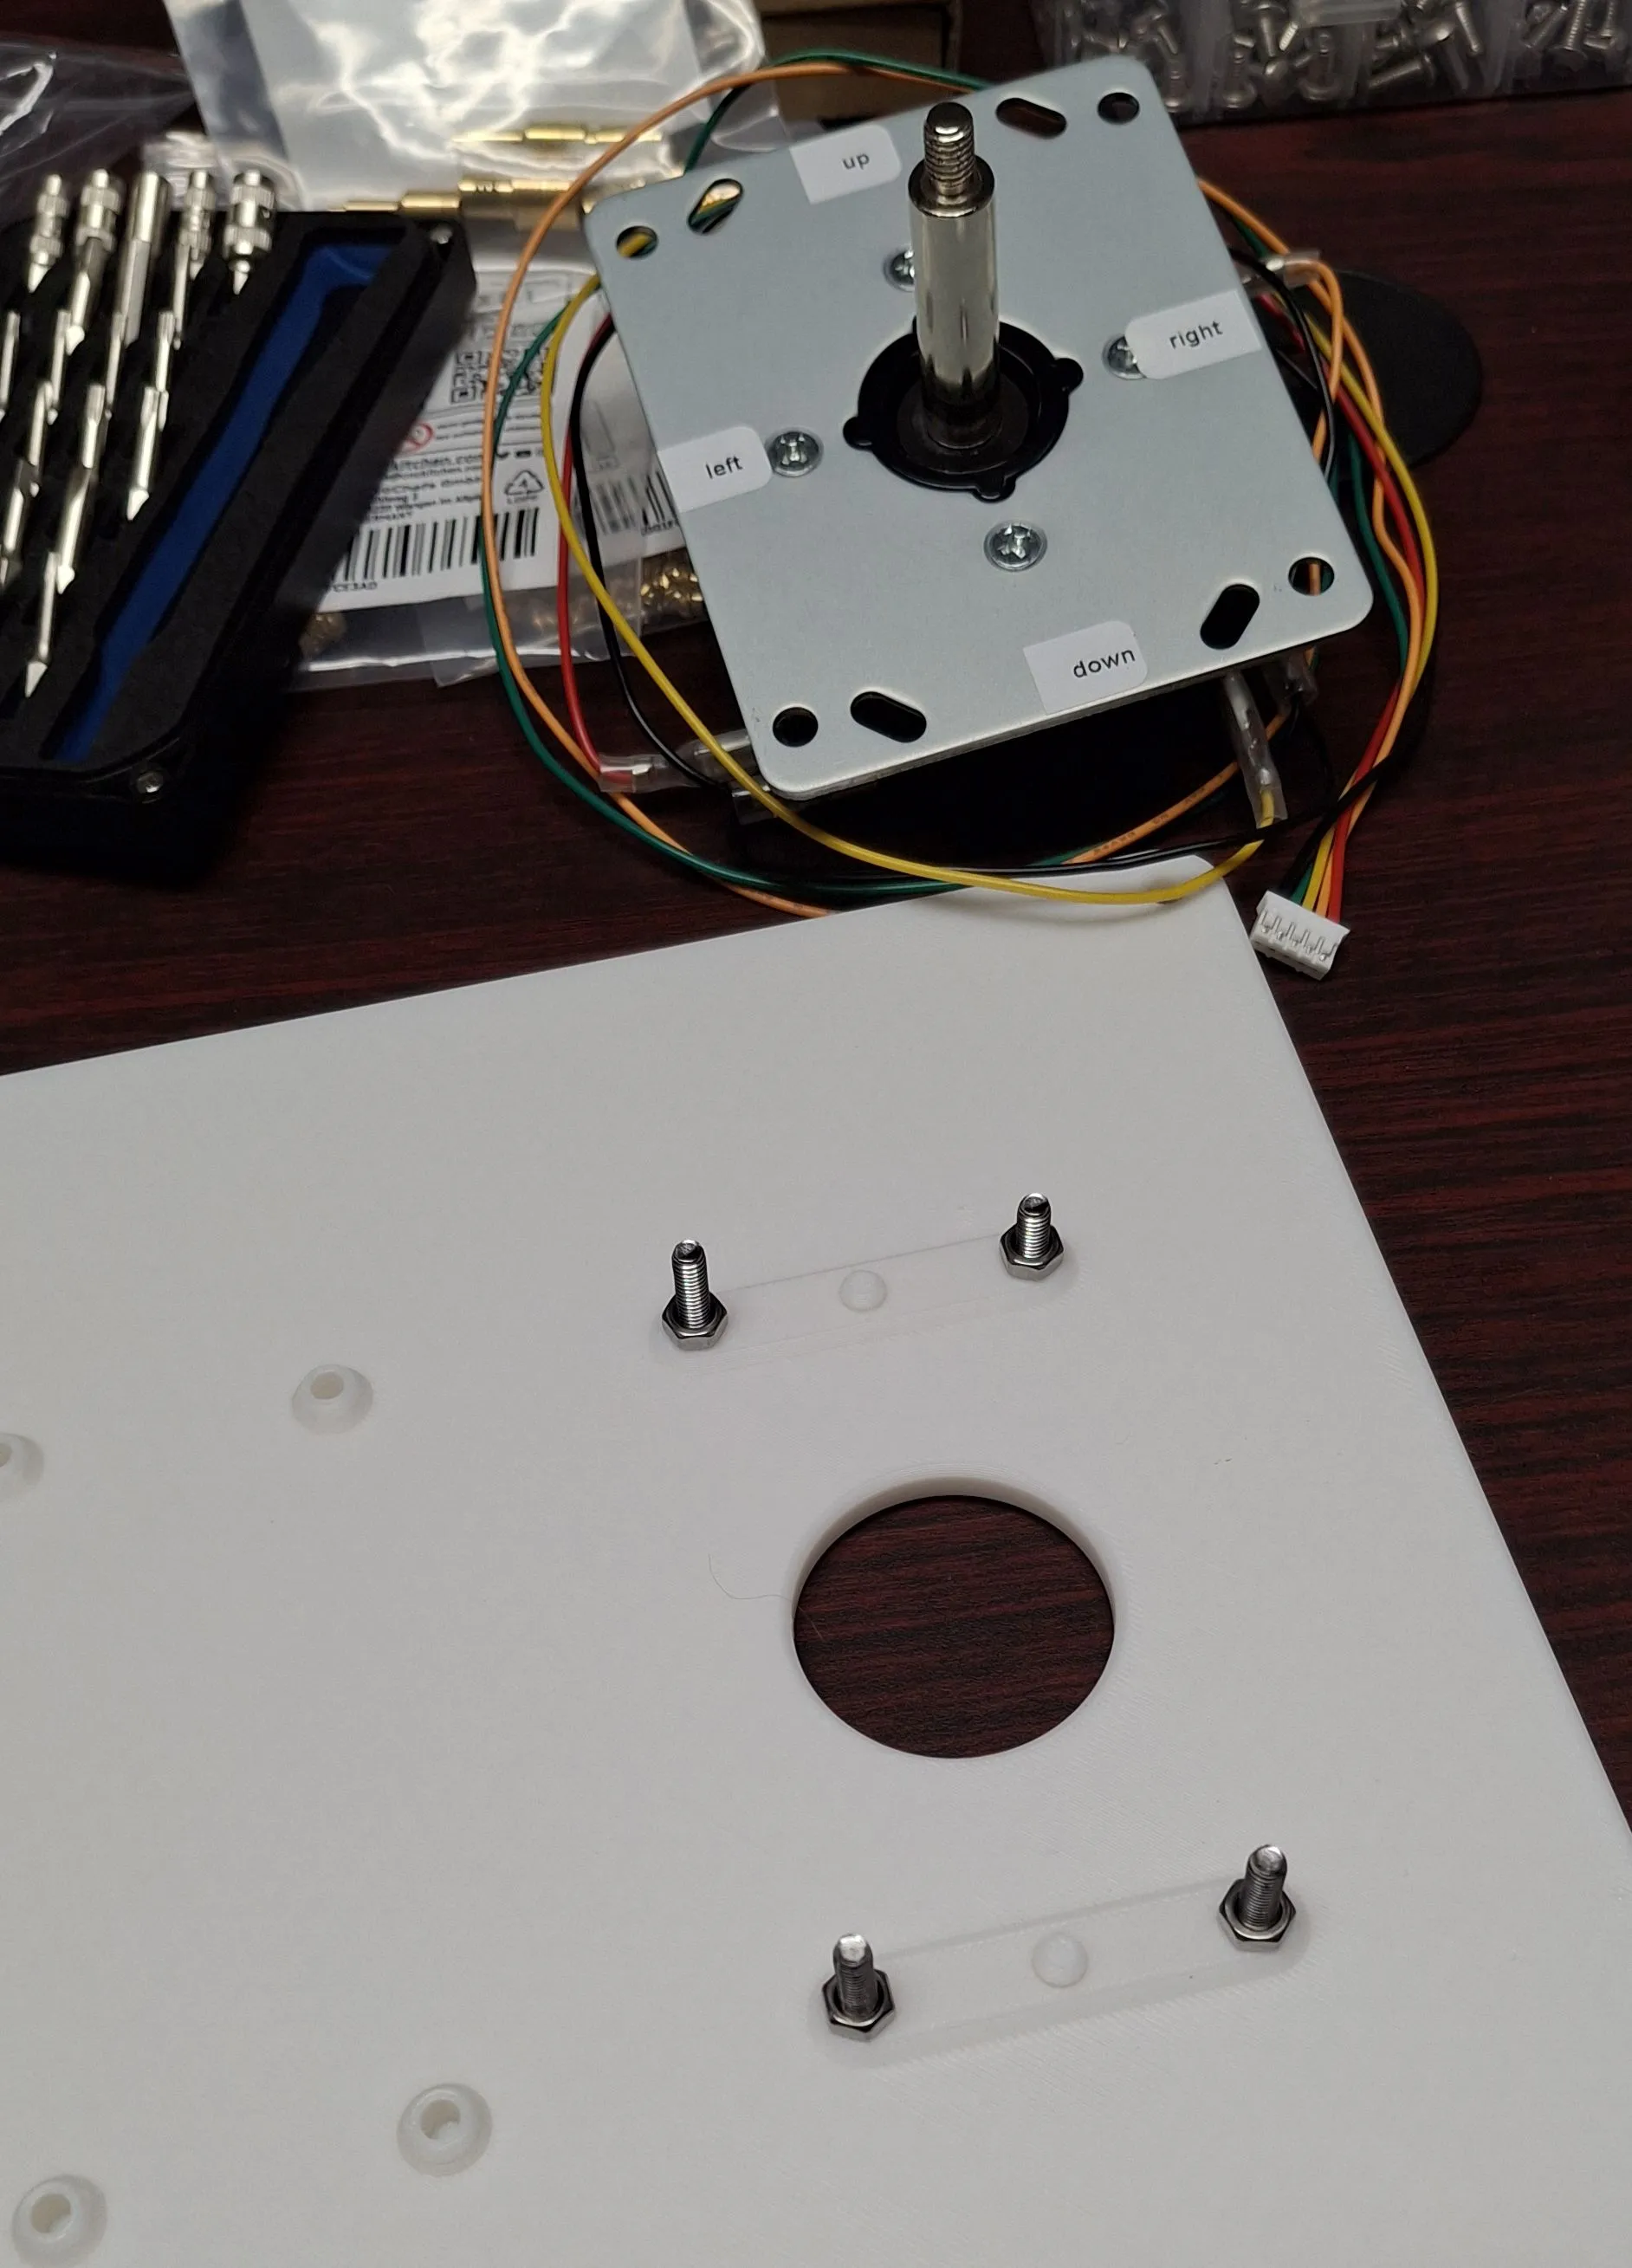
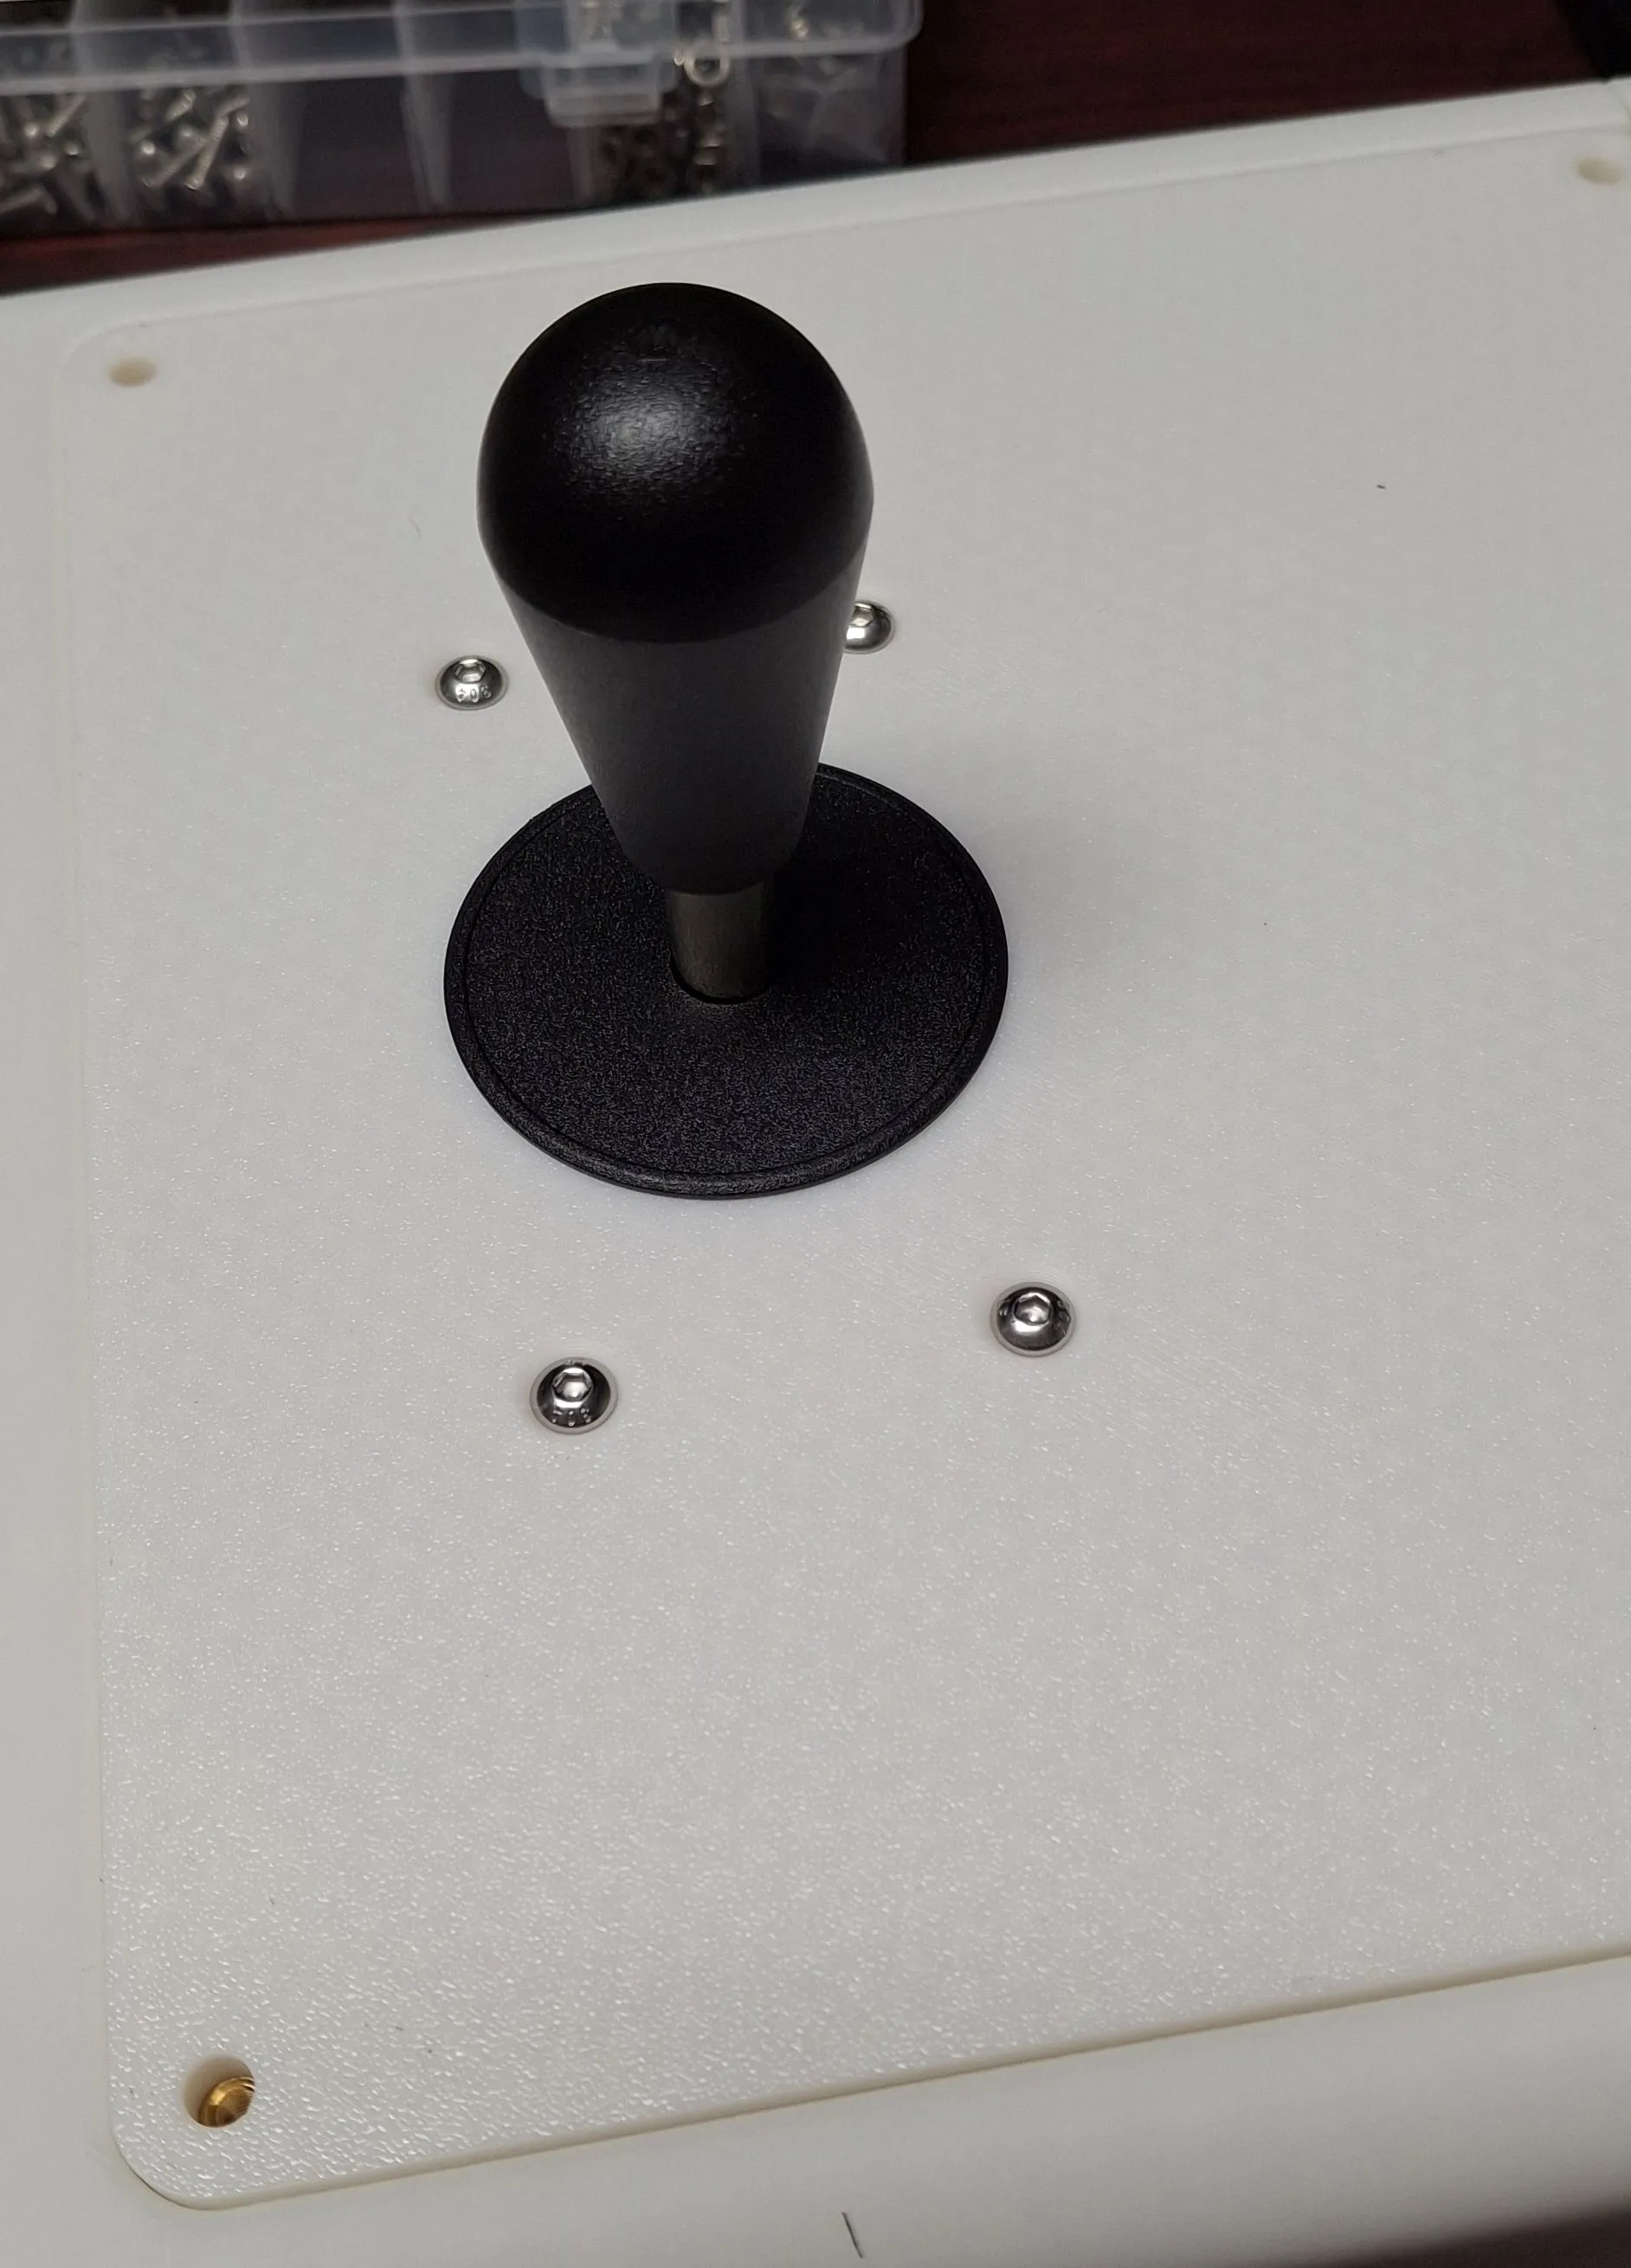
The joystick panel gave me some more trouble than I expected. The panel included an alignment nub that the stick from the kit doesn’t have a recess for, so I needed to decide whether to use a spacer or to remove the nub. I ended up going with using an additional nut on each bolt as a spacer because I wasn’t sure I could remove the nub cleanly.
For the top of the joystick, the kit provided both a ball top and a bat top. I didn’t like the feel of the ball, so I went with the bat. Retro Frog offers an interesting middle option called a “bullet” top that I may give a shot someday, but for now, the bat is sufficient.
For connectivity, I used a Neutrik USB panel pass-through adapter, so that all of the cabling is internal to the controller, and just use a simple USB-B cable to connect it to the computer or console.

The last step before closing it all up was to actually run all of the wiring to the encoder board. The extra LED wires on the buttons again were a pain to maneuver around, but I managed to get everything wired up without too much difficulty.
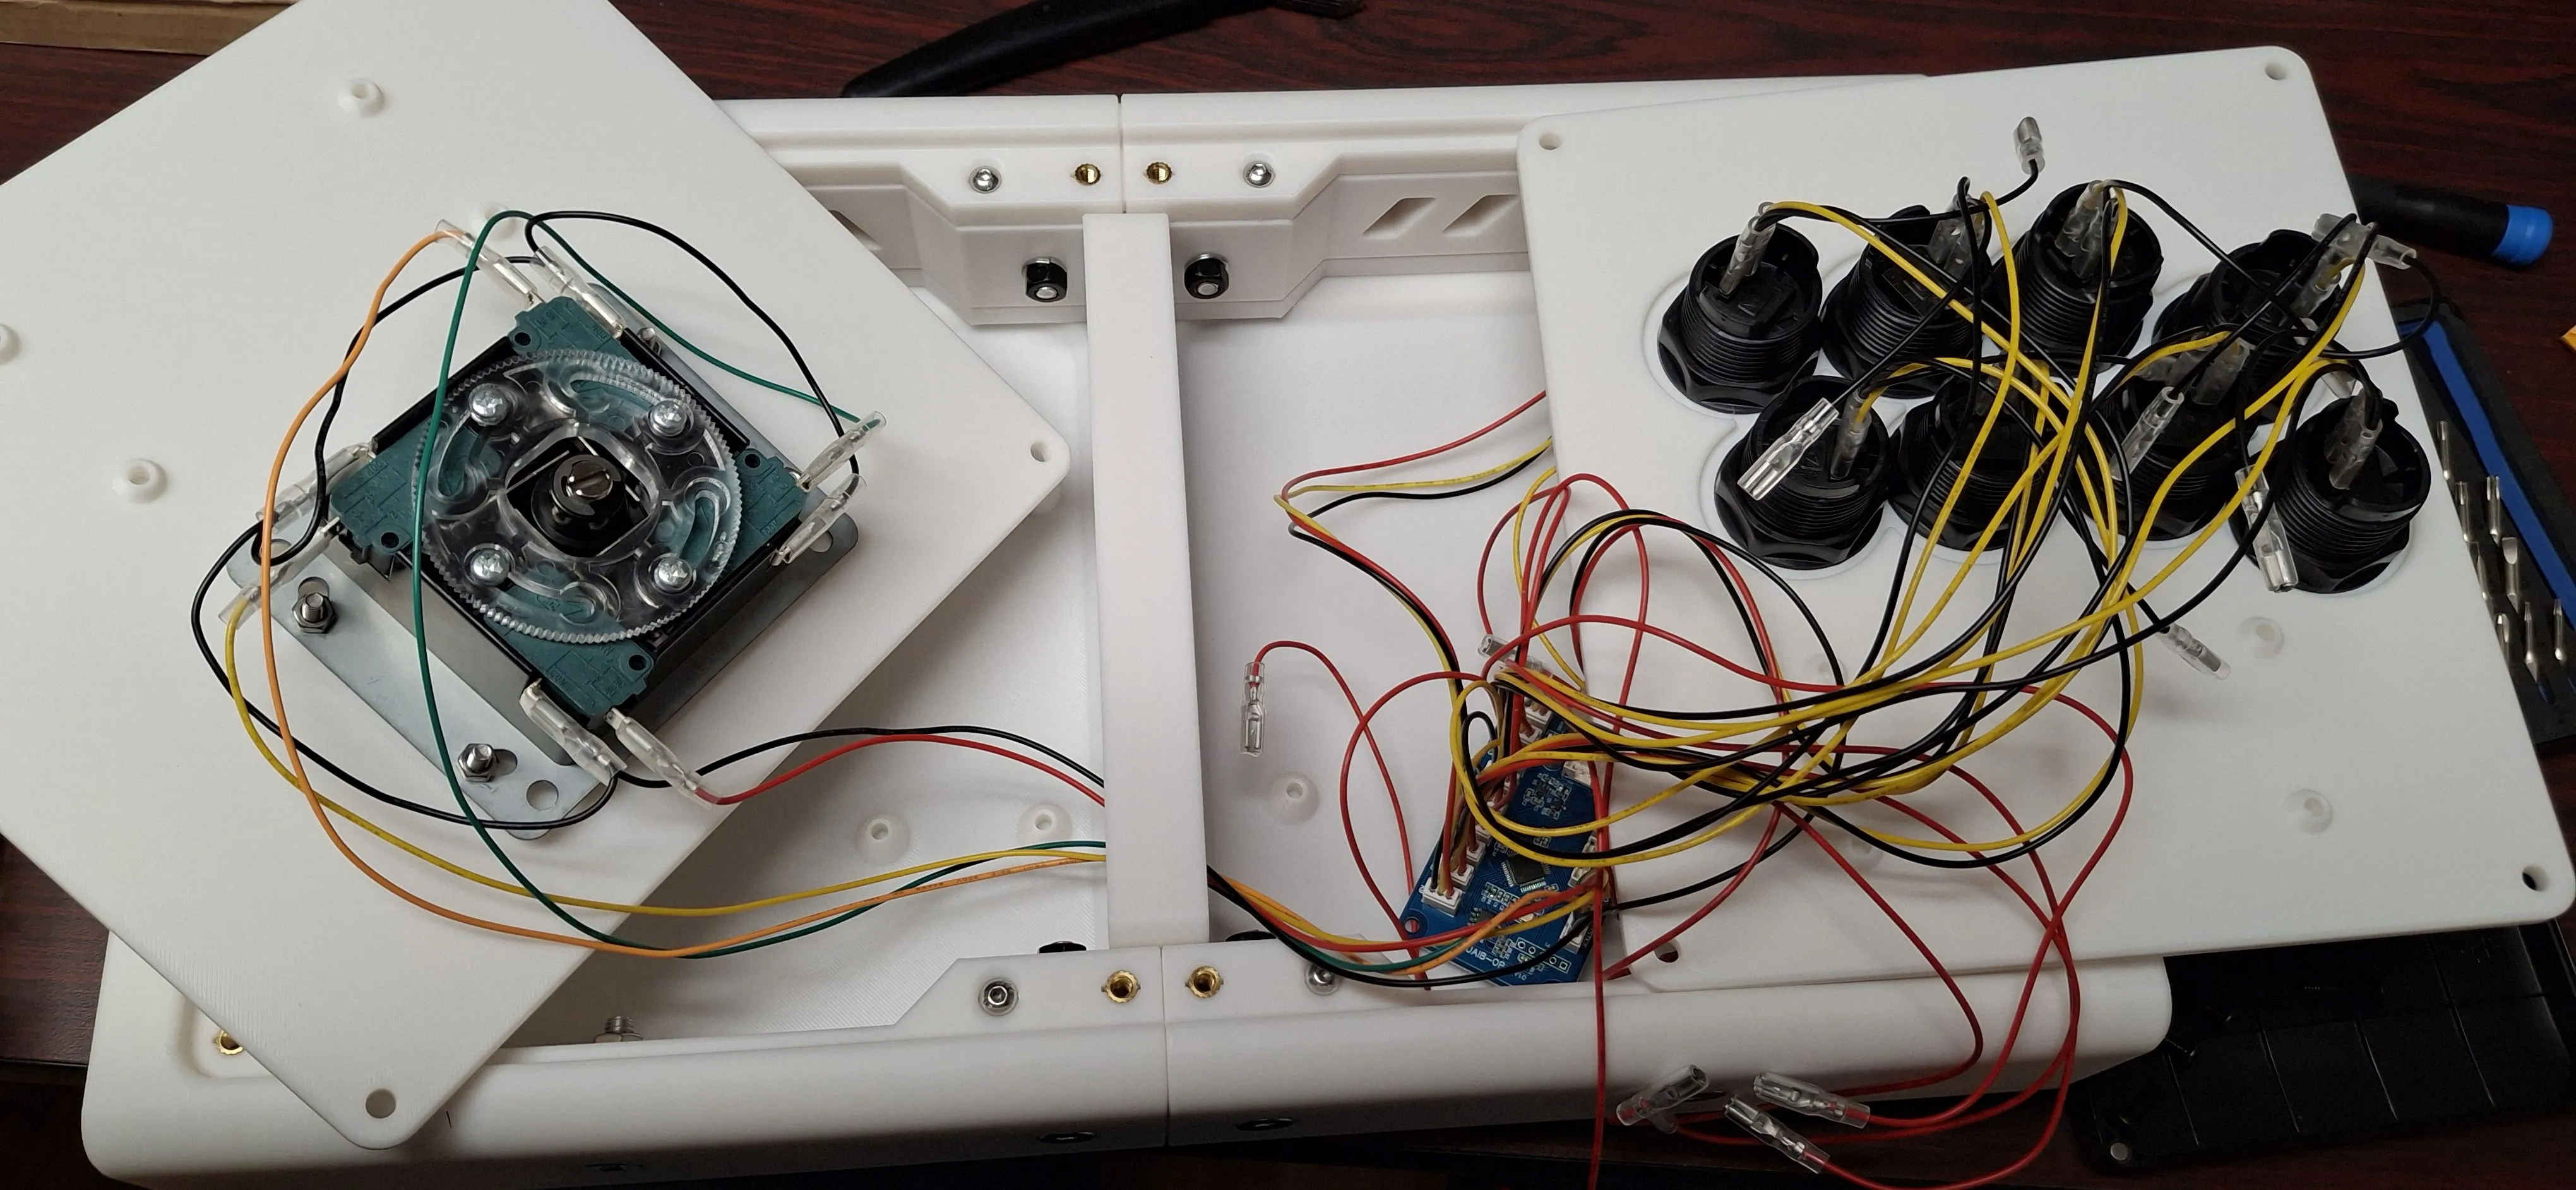
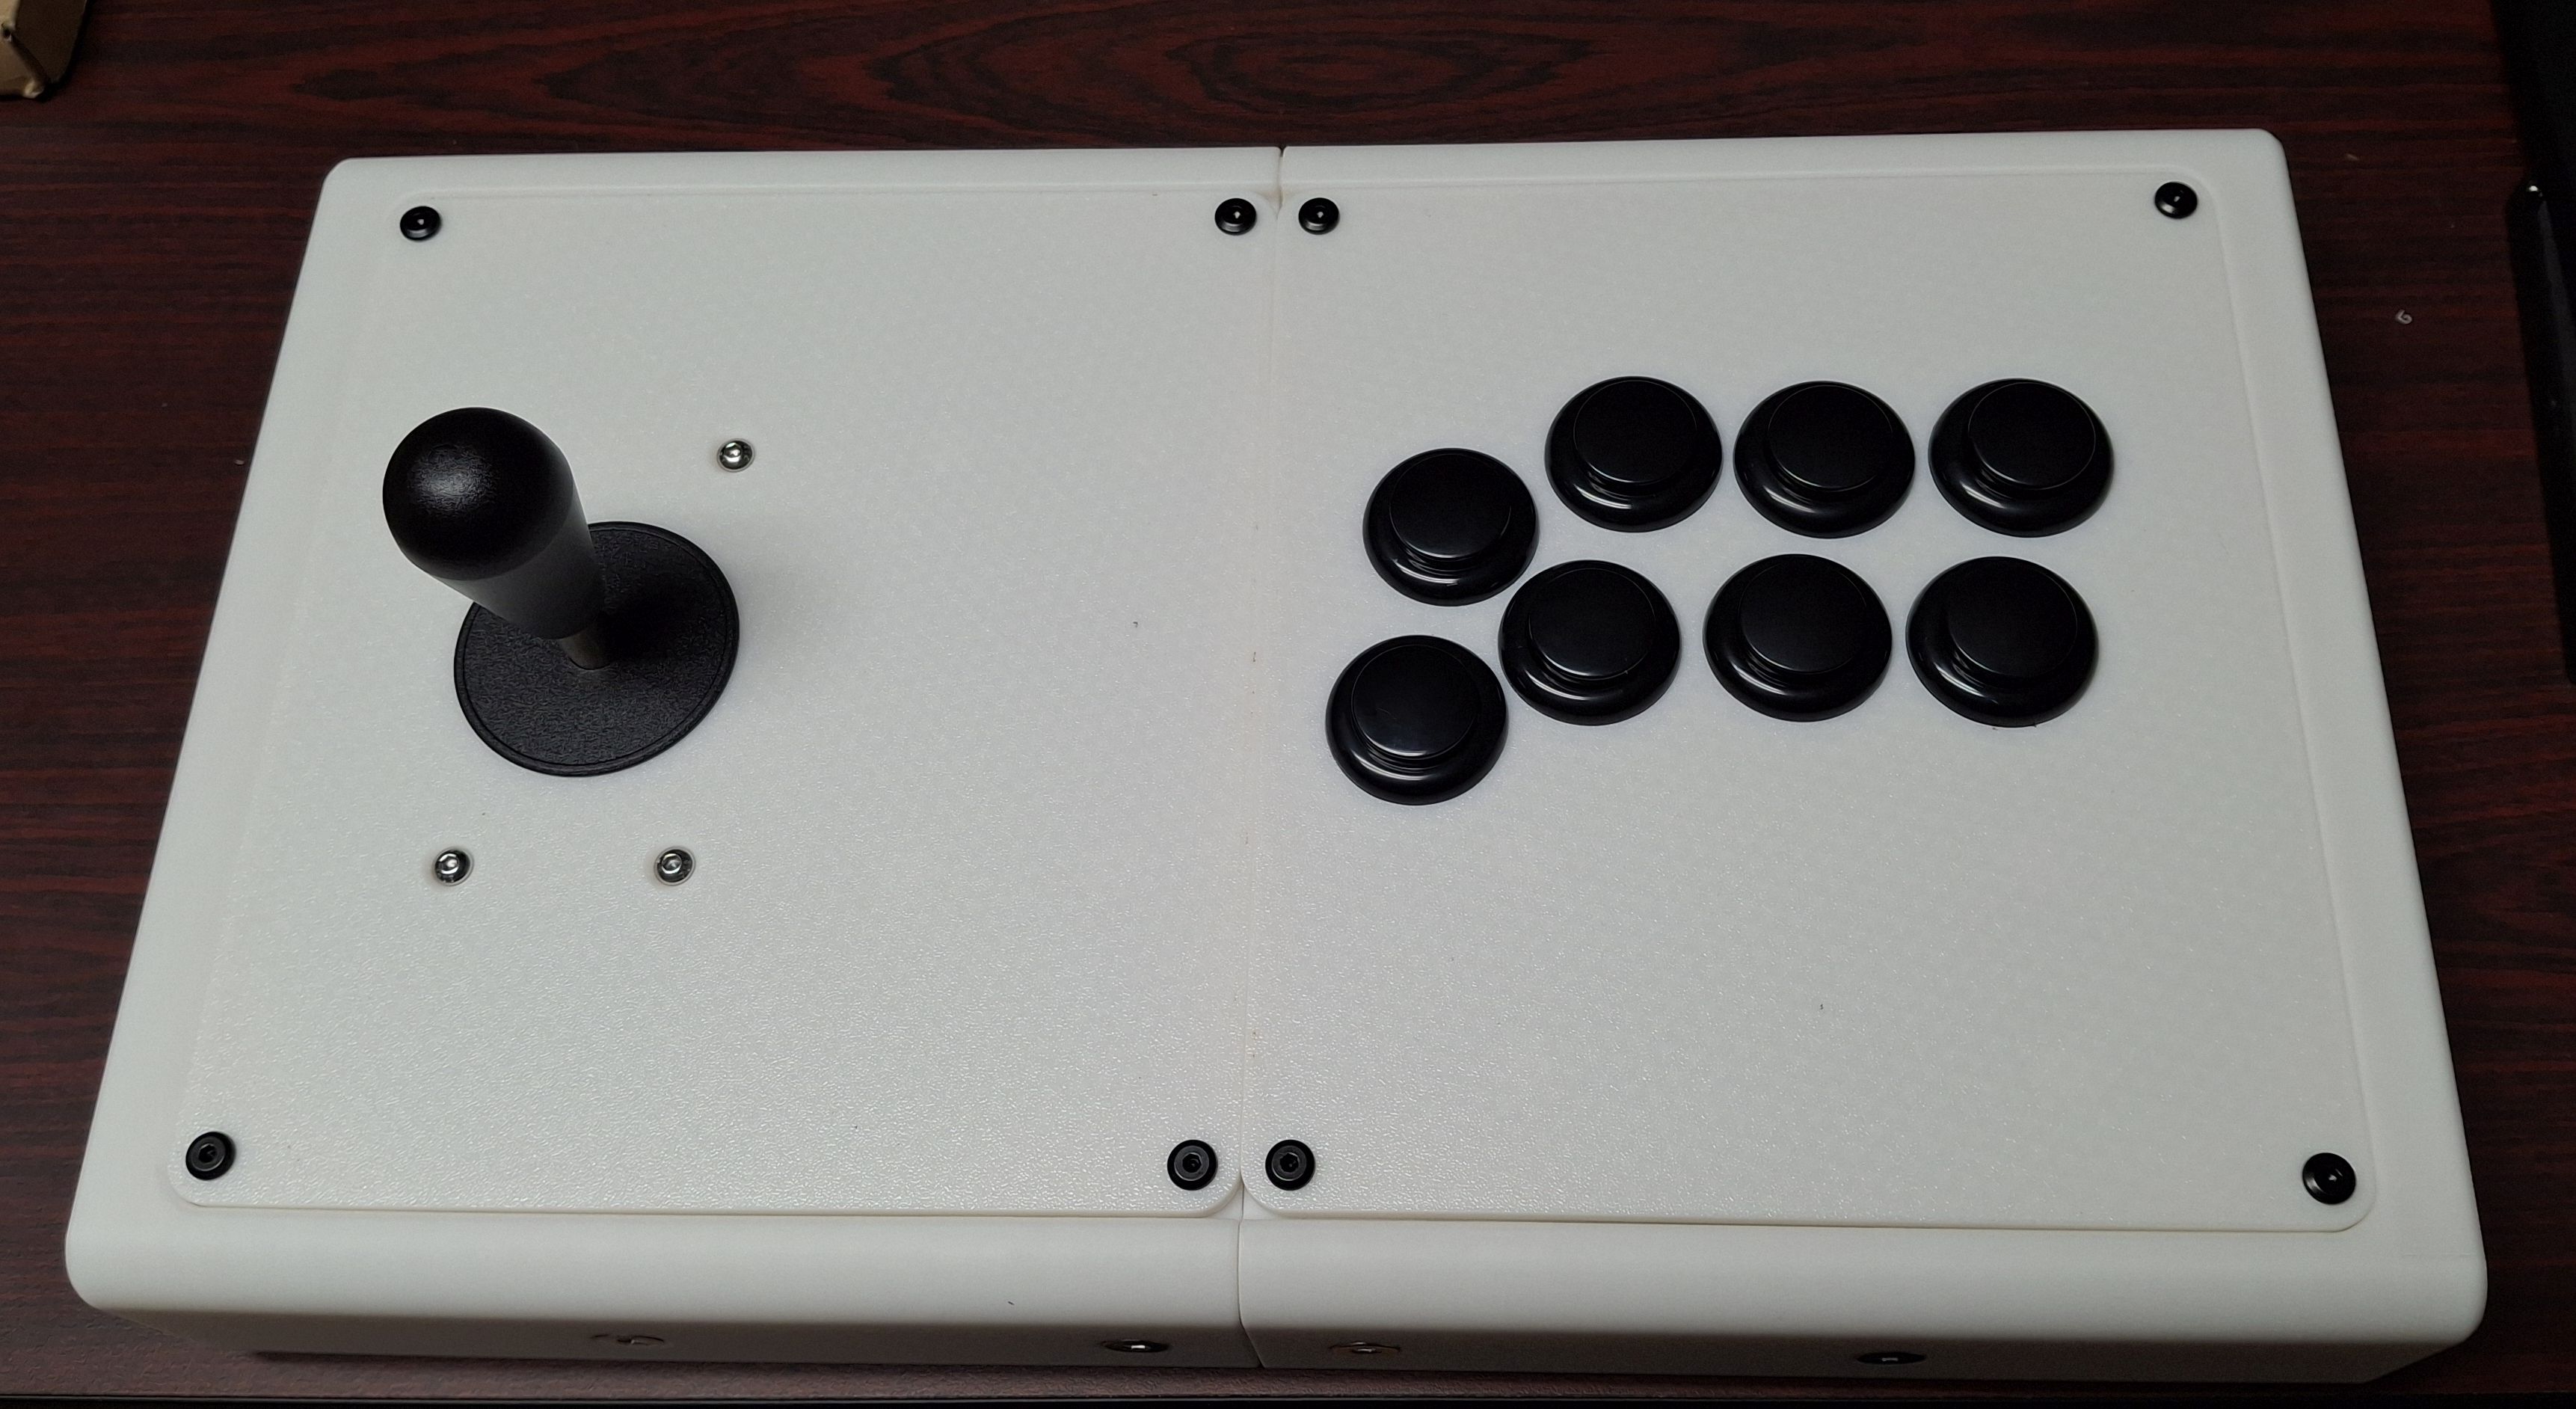
After screwing down the encoder board and running the USB cable from the board to the adapter, all that was left was to close everything up and start playing.
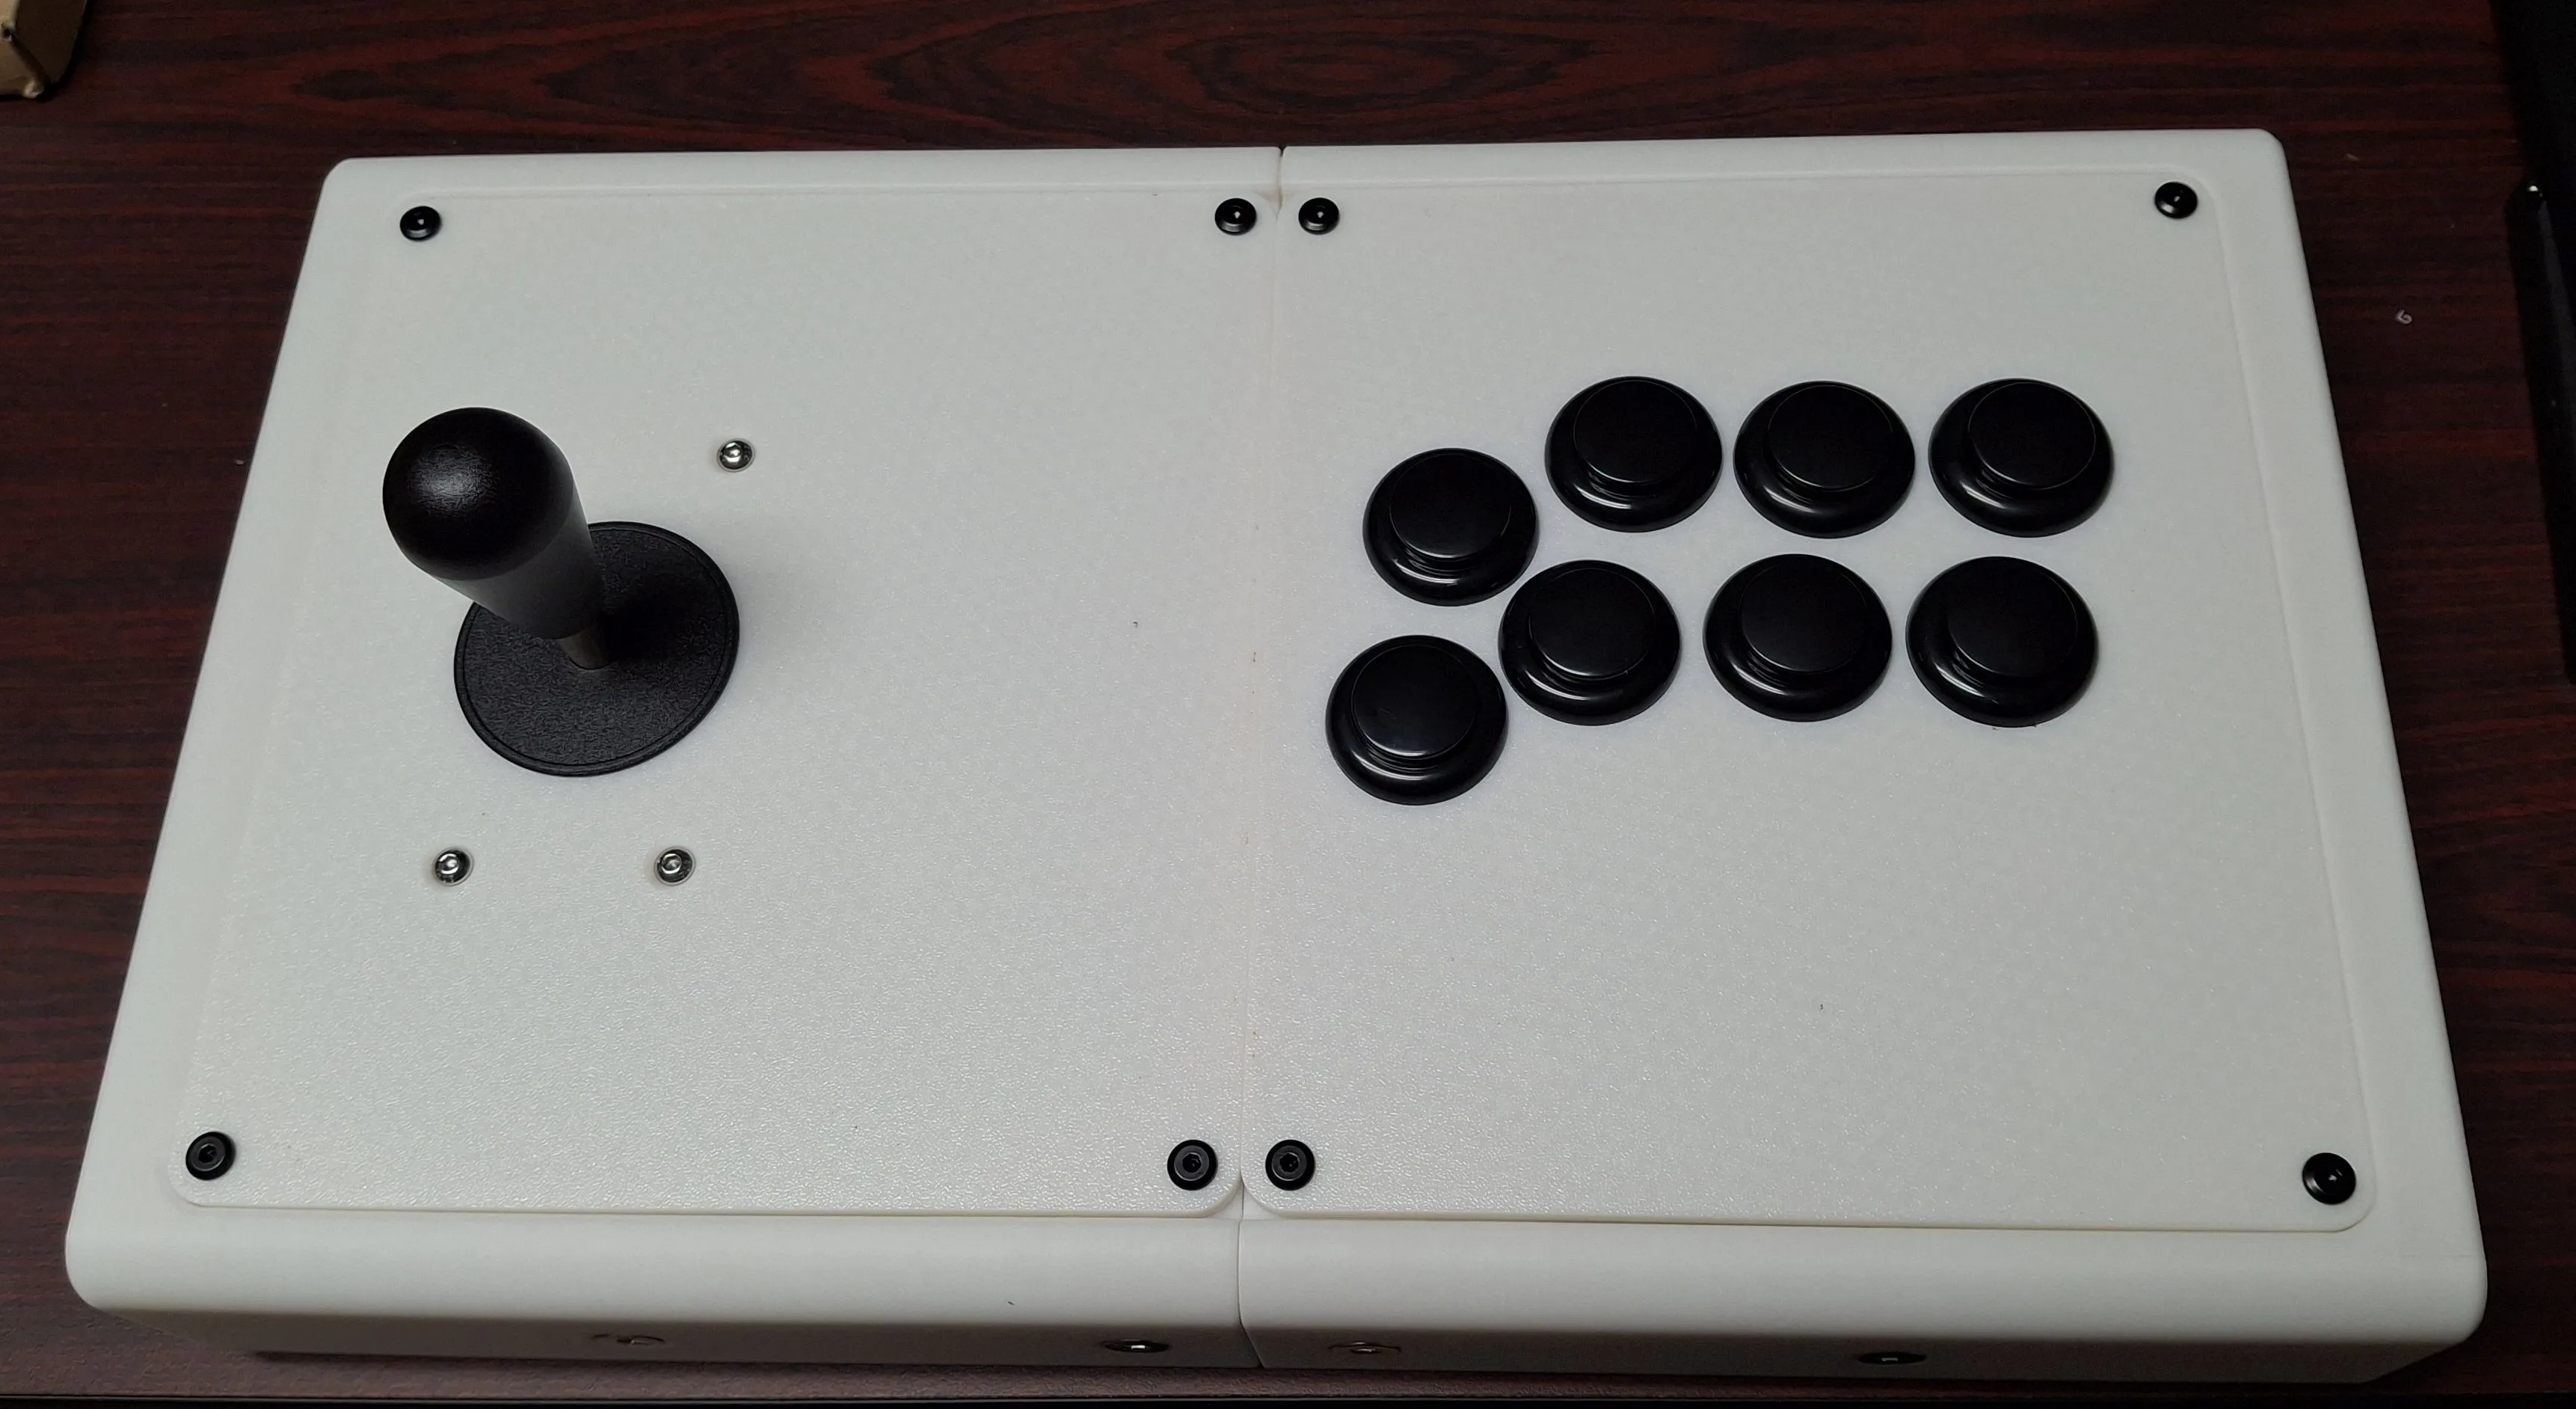
Overall, a fun build for a usable controller that I can take to some retro gaming events as well. Between the parts and filament, it cost probably around $60 USD total - I bought extra screws for future projects so it’s a little hard to be exact. Not a bad price compared to some other options I’ve seen for sale, and if I want to upgrade to a better encoder board or swap out components in the future, it’s easy enough to do.